Overview#
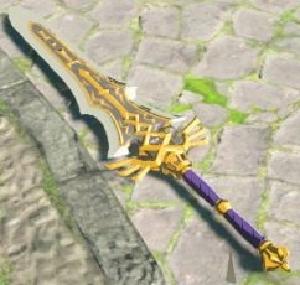
If you've played The Legend of Zelda: Breath of the Wild, you're likely familiar with the Royal Claymore - one of the most visually striking weapons in the game. With its distinctive blue and gold design and impressive 52 attack power, it's a favorite among many players. While our cardboard version might not help you defeat any Lynels, it makes for an impressive display piece!
The Royal Claymore in the game is described as "A two-handed sword issued to the Hyrulean royal family's immediate guard detail. Its powerful strikes are said to crush an opponent's body and resolve alike." For our project, we focused on replicating its distinctive appearance rather than its crushing power.
This project is perfect for crafty kids (with adult supervision) and took us about 3 weekends to complete. The process involves creating a template, cutting cardboard layers, adding 3D printed details, and painting.
Materials Needed#
- Cardboard (salvaged from delivery boxes works perfectly)
- Toilet roll tubes for the handle
- Blue ribbon for the handle wrapping
- Spray paint in gold, silver/gray, and blue
- Wood glue or strong craft glue
- Thin wooden dowel for structural support
- Access to a 3D printer (or download our STL files and use a printing service)
- Craft knife (adult use only)
- Scissors, ruler, pencil
- Printed template (downloadable below)
A School Project Led by My Daughter#
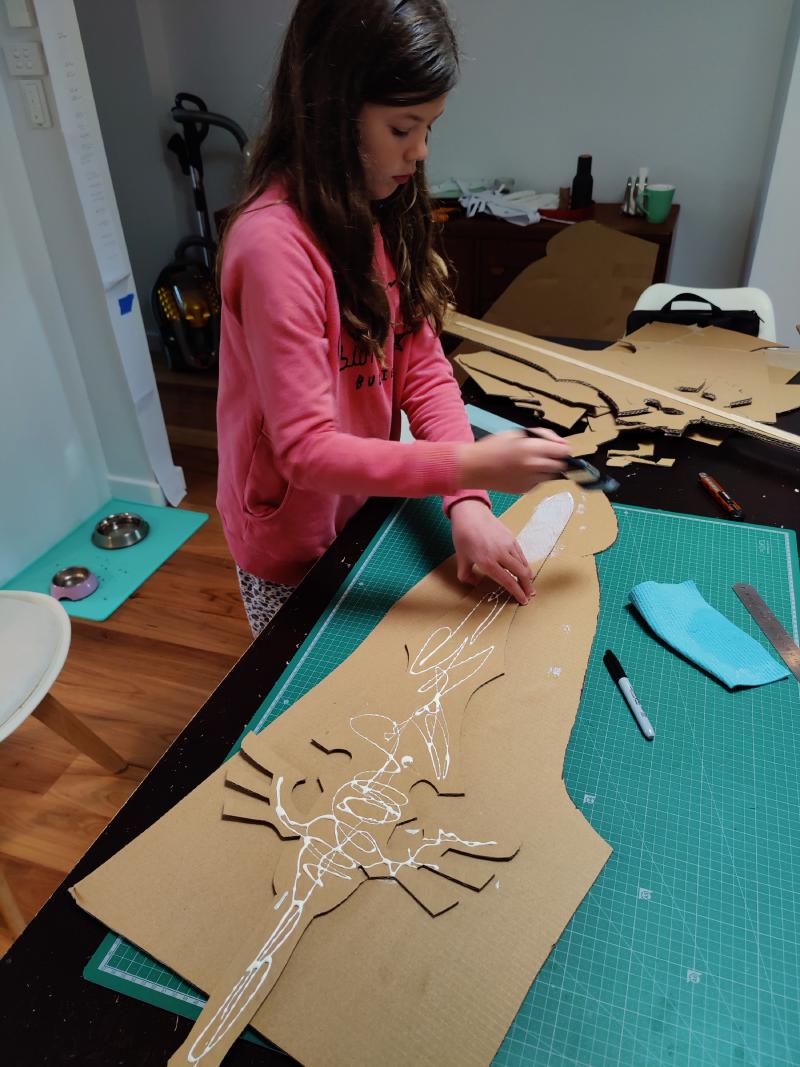
What made this project special was that my daughter took the lead as part of a school assignment. While I had been the primary builder on our previous sword projects, this time I stepped back into more of an advisory role. I handled the more dangerous tasks like cutting the cardboard with the utility knife, but she did the template creation, design work, gluing, and much of the painting.
This project became an excellent learning opportunity - not just for crafting techniques, but also for design skills as she worked with Adobe Illustrator to create the template based on reference images from the game.
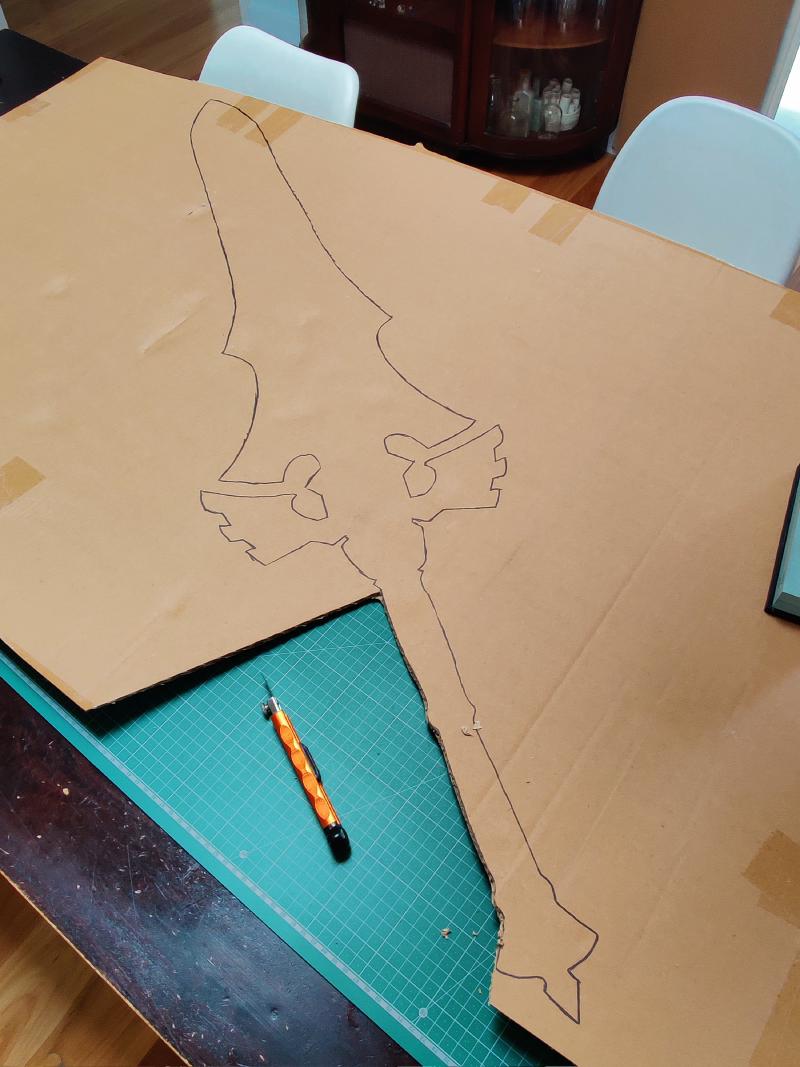
Creating the Template#
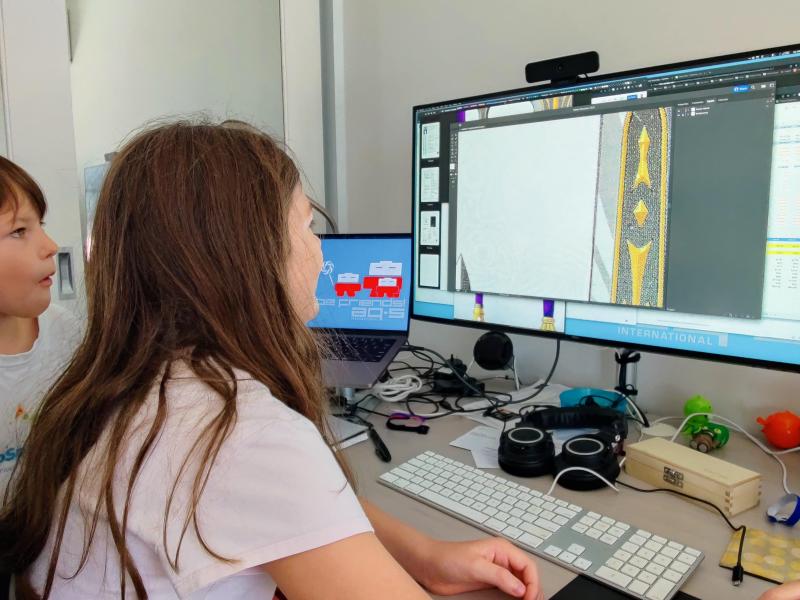
Following the approach we used for Fireblight Ganon's Ancient Sword , my daughter learned how to trace the sword outline in Adobe Illustrator, scaling it to our desired life-size dimensions (approximately 1.2 meters long). The digital template was then printed across multiple A4 sheets that we taped together to create the full-sized pattern.
Building the Sword Structure#

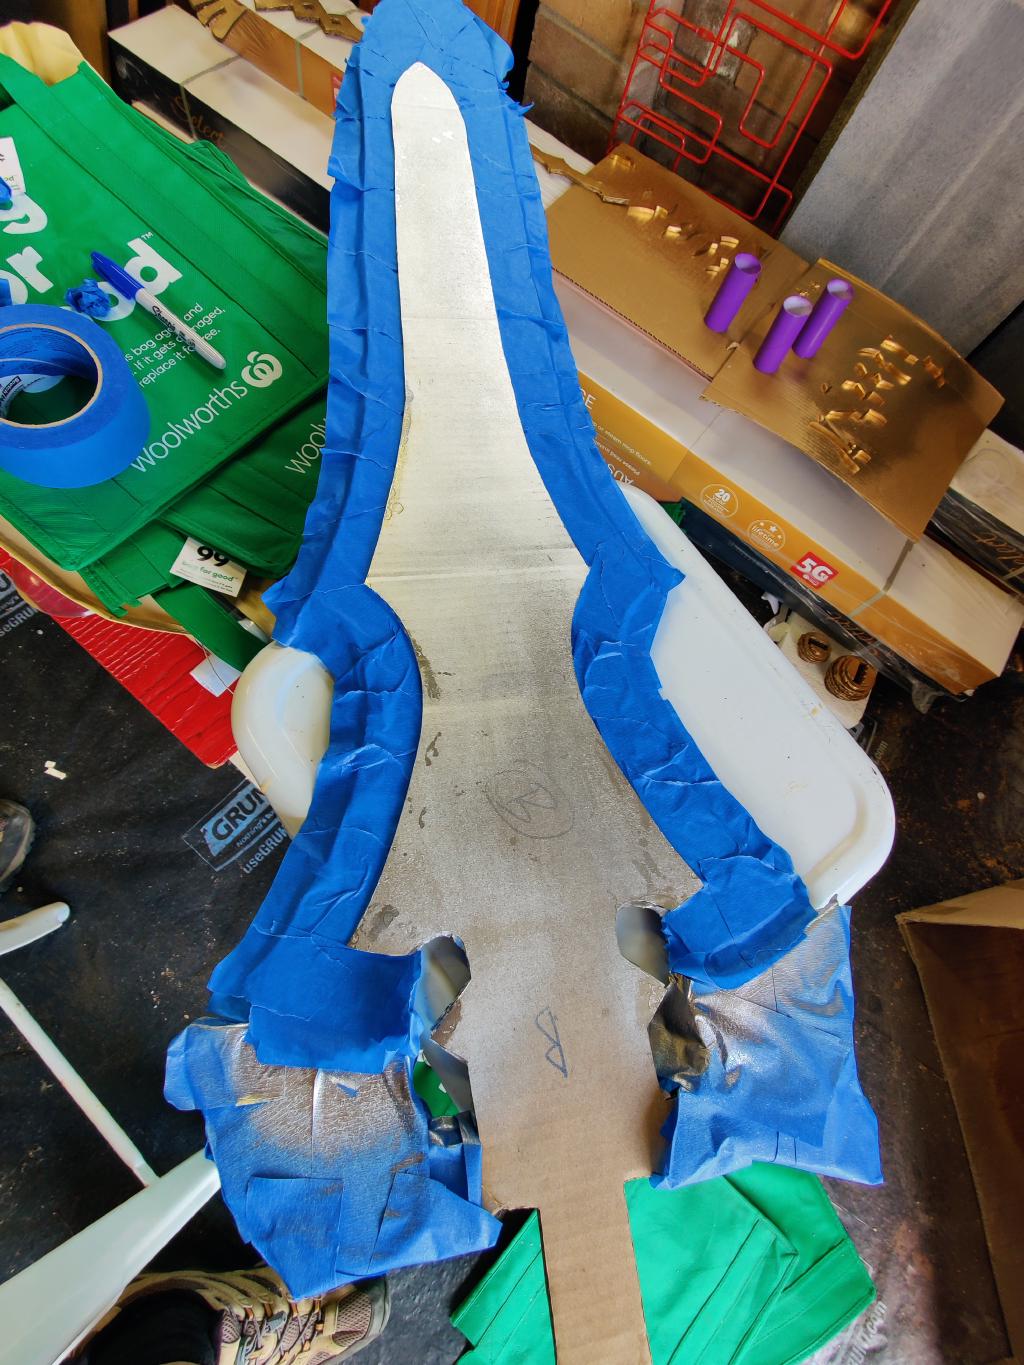
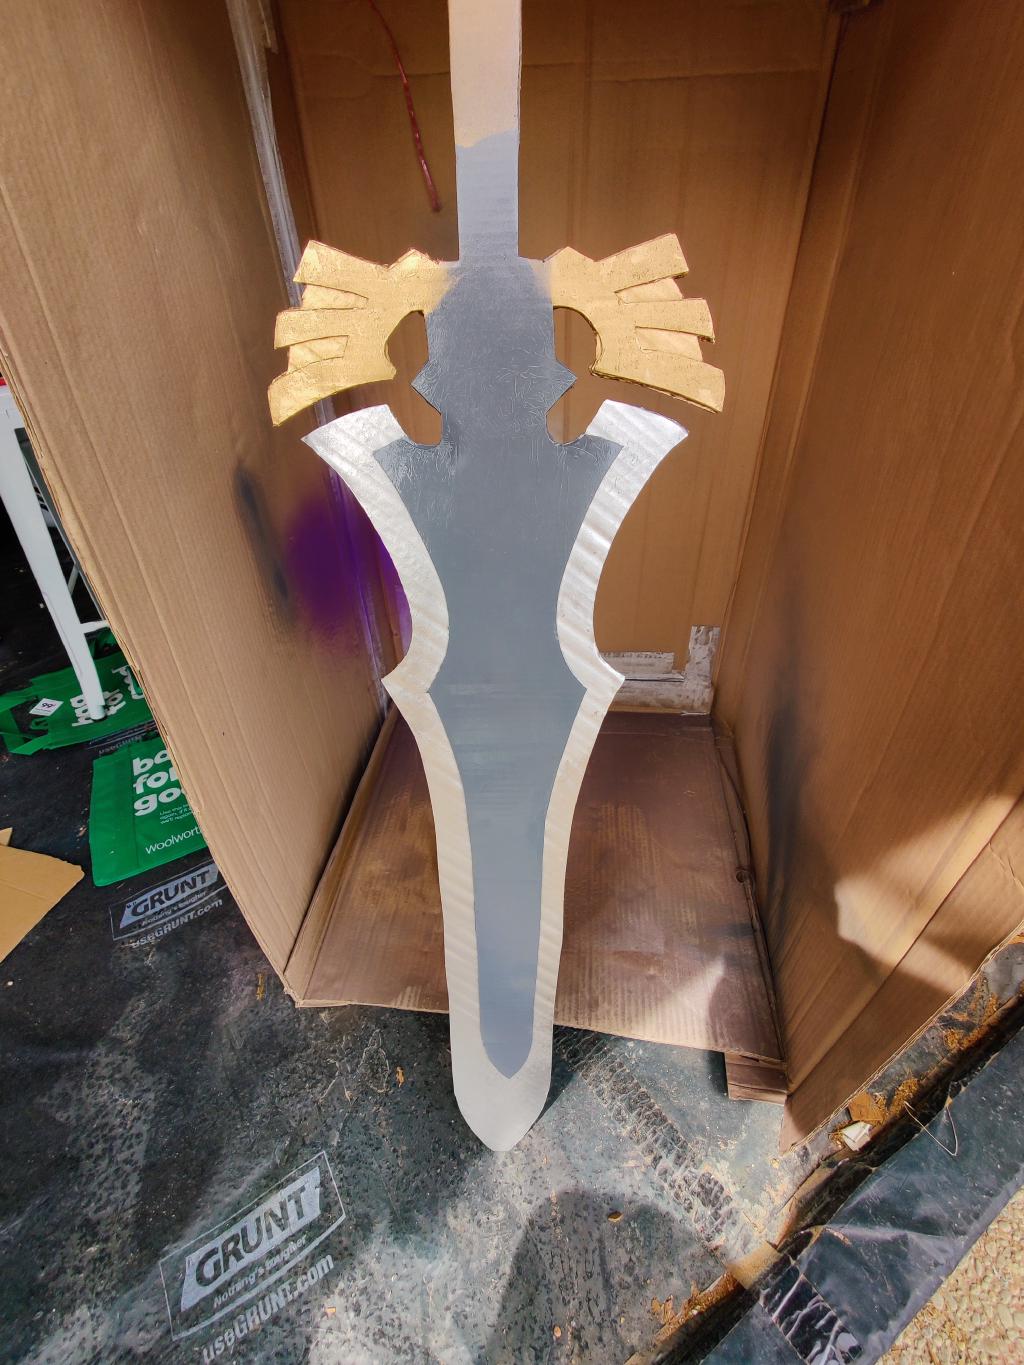
Cutting and Layering#
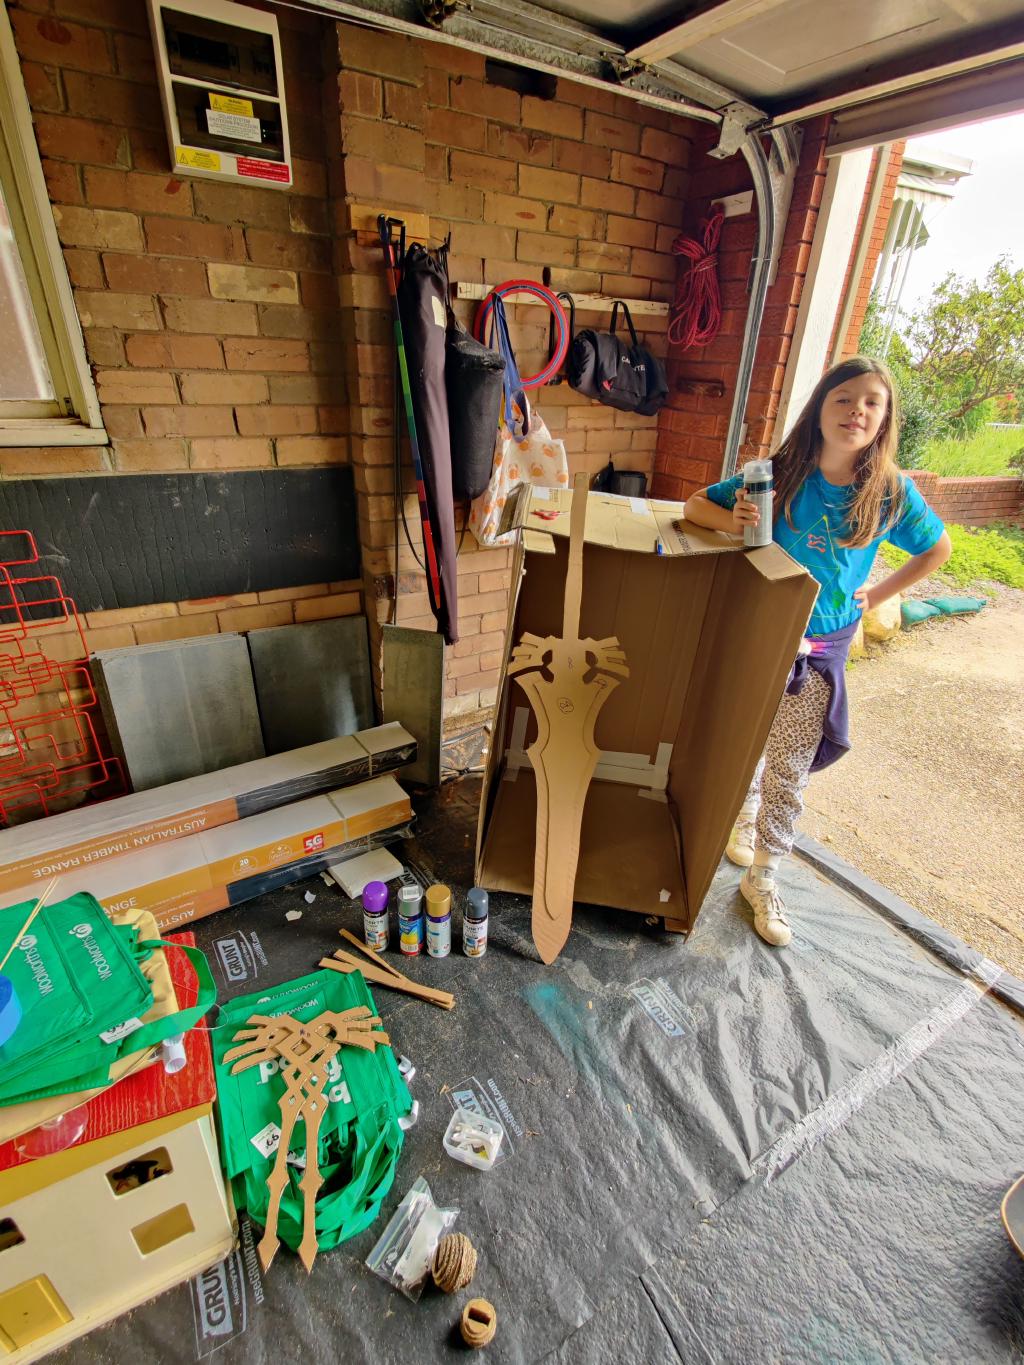
We traced the template onto cardboard and carefully cut out the pieces. This Royal Claymore used three layers of cardboard with the corrugations running in different directions for maximum strength. A wooden flat dowel was inserted down the center of the blade (you can see it in the second image below in the background) and into the handle for additional support, essential for a sword of this size.
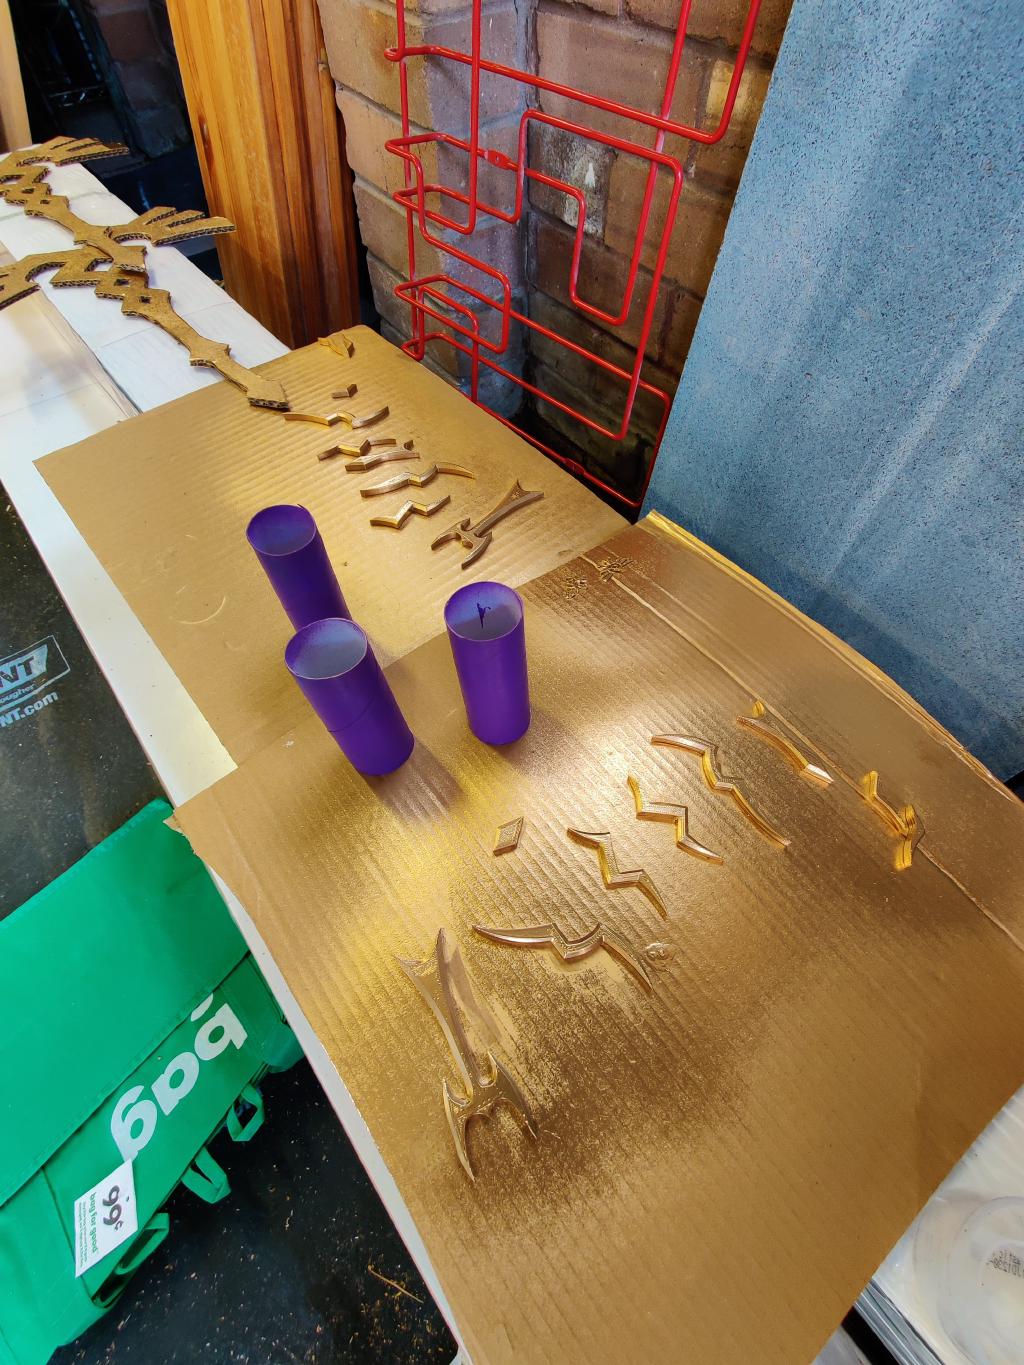
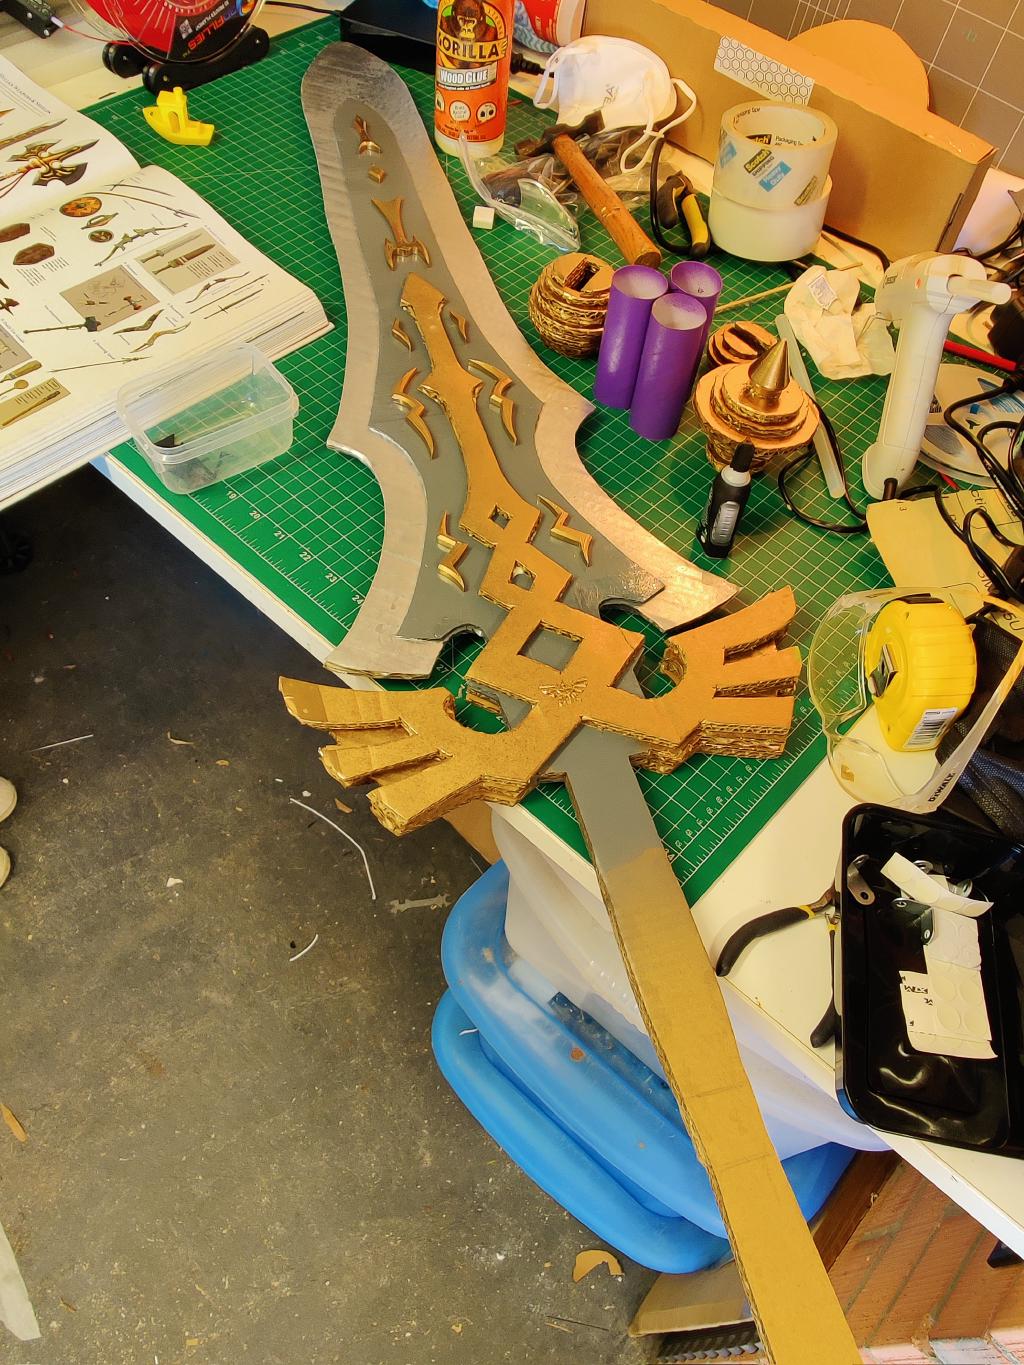
3D Printed Elements - A New Addition#
Unlike the previous props, this Royal Claymore design incorporated some 3D printed details, using the new 3D Printer I had added to the workshop. For this project, we printed:
- The decorative elements along the blade
- The Triforce logo
- The pommel spike at the end of the handle
These printed elements added a level of detail that would have been difficult to achieve with cardboard alone and were a good "dip of the toe" into 3d modelling and printing that would come in handy for future props.
Creating the Handle#
For the handle, we used toilet roll tubes as a base, just like in our Master Sword project . The distinctive blue cross-hatched pattern was created using blue ribbon woven and glued into place.
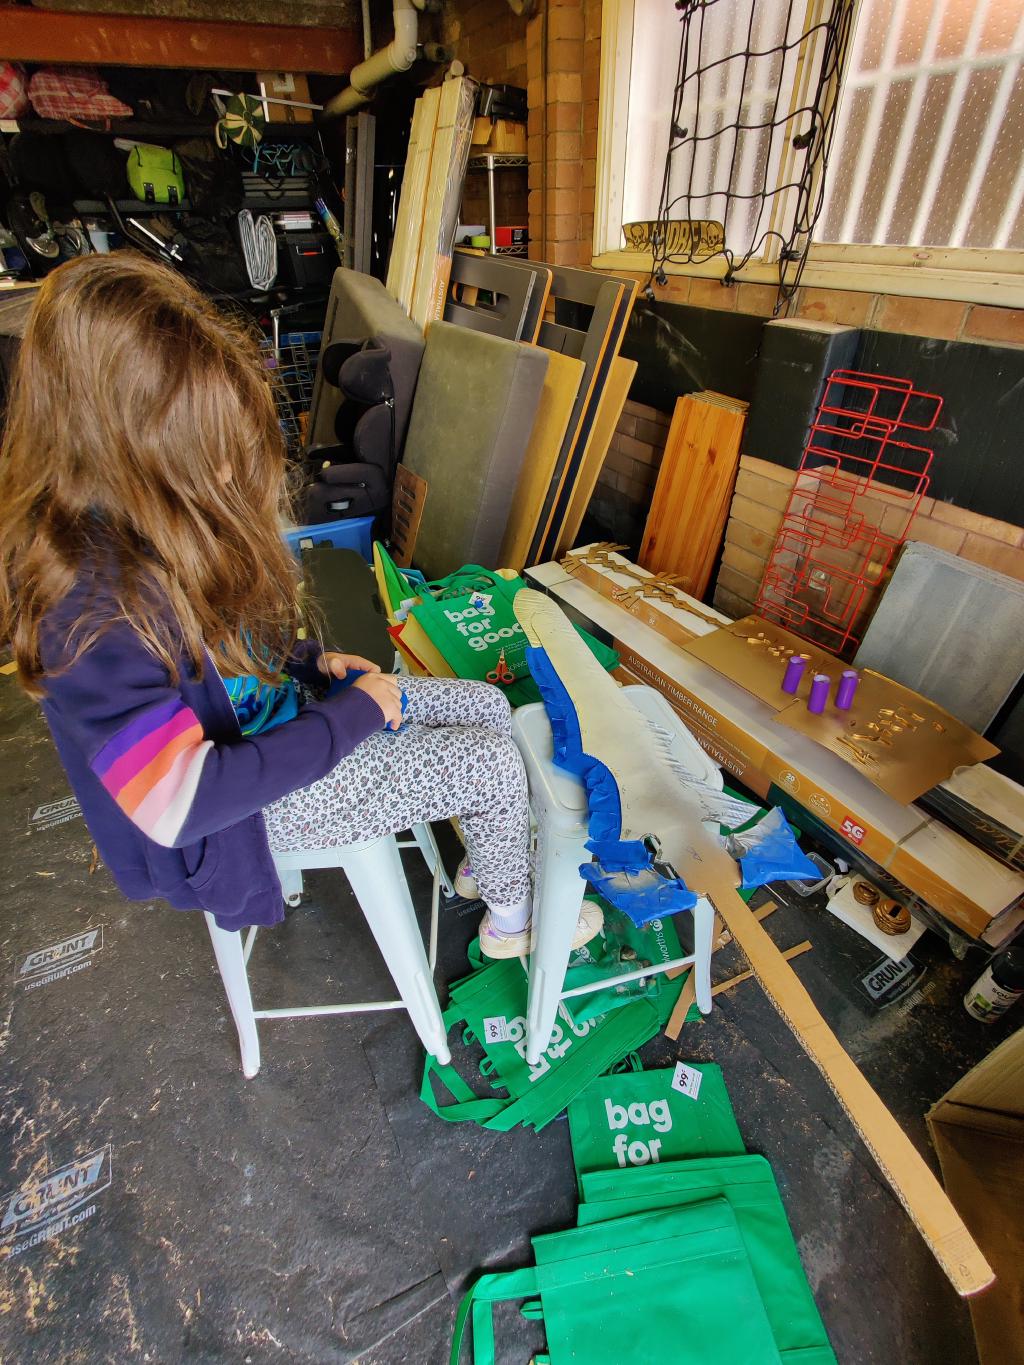
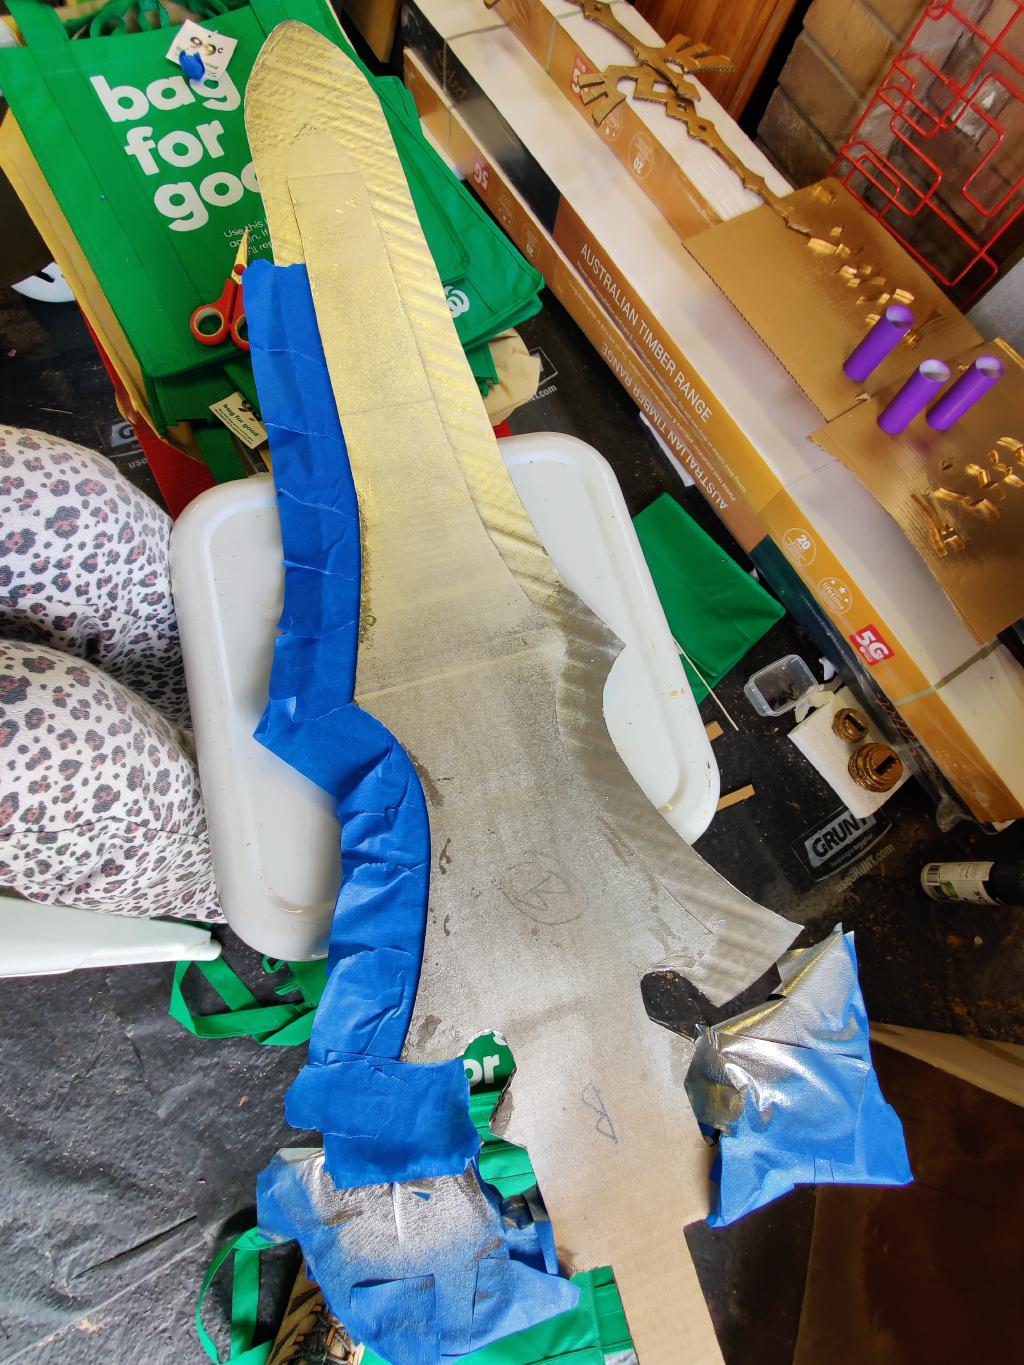
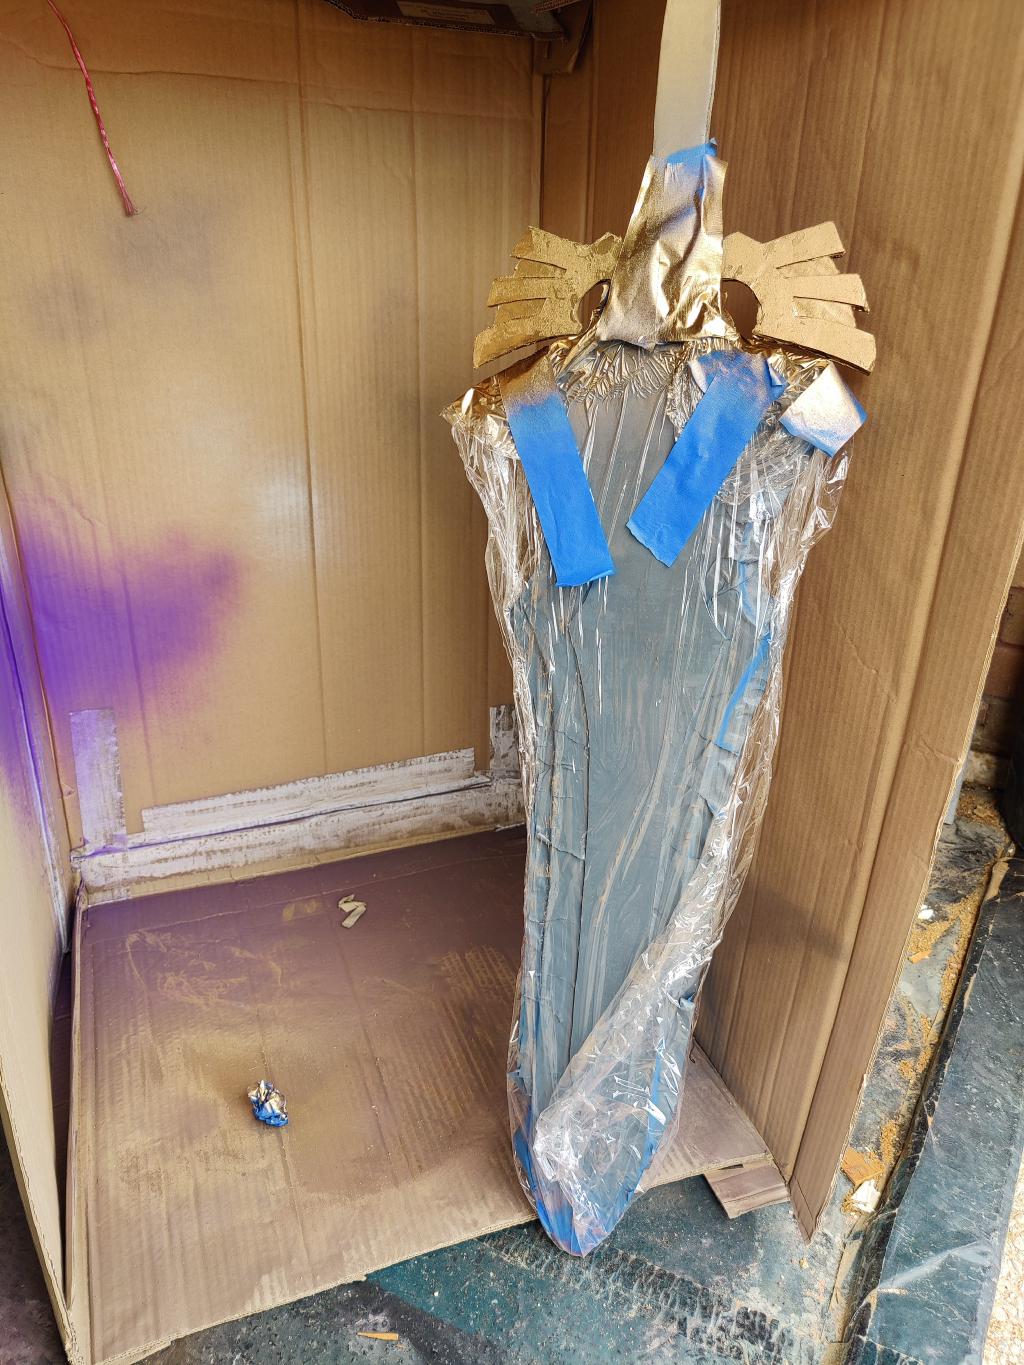
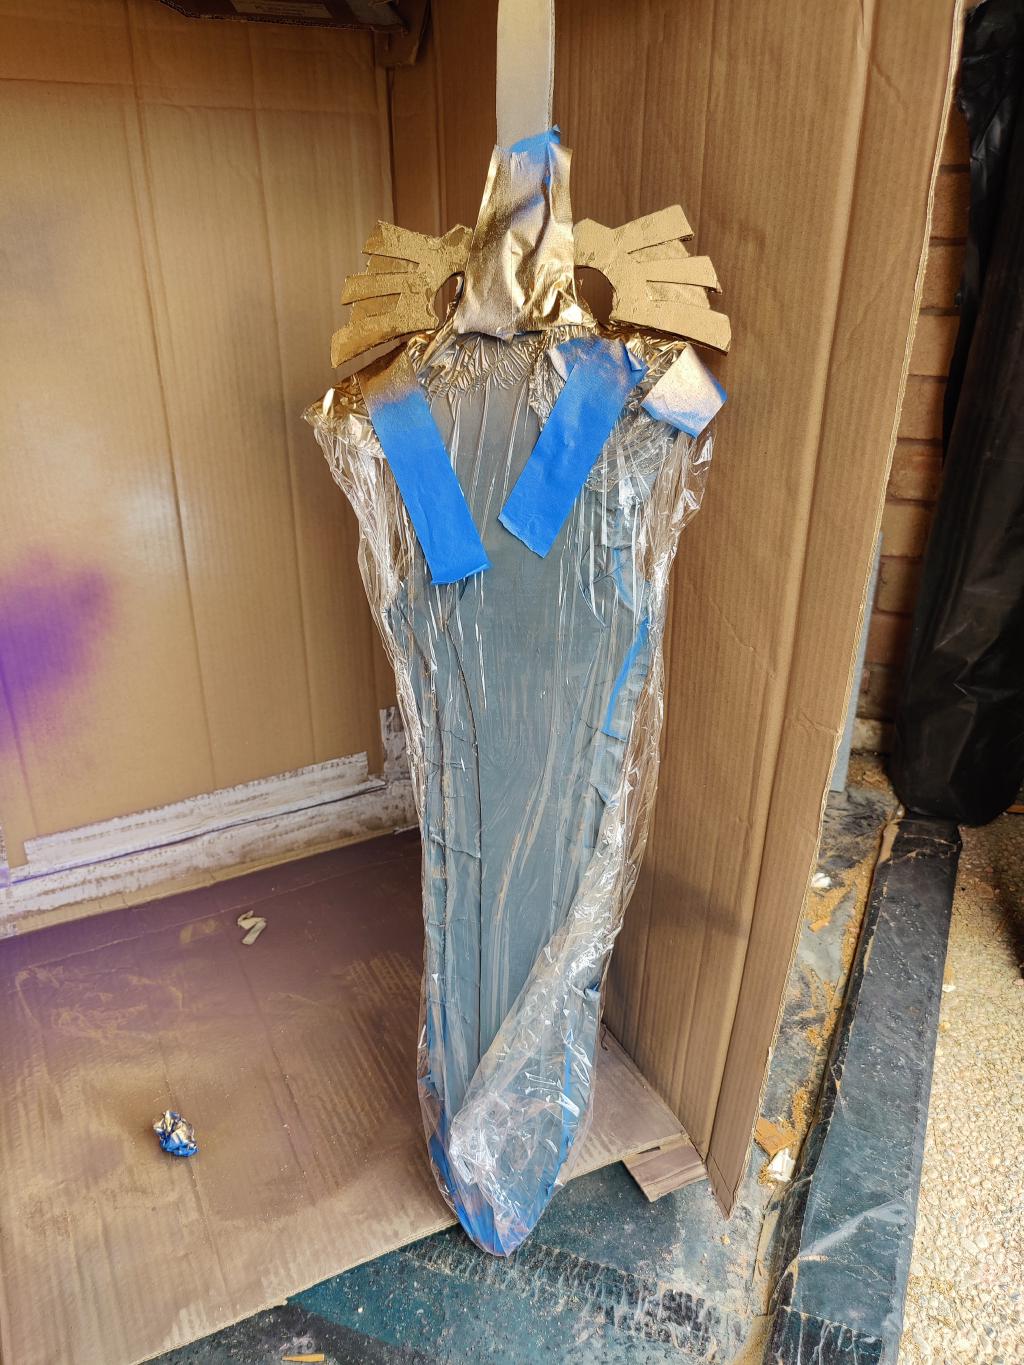
Painting#
The painting process required careful masking to achieve the clean lines between the different colored sections:
- We started with a base coat of gray for the blade
- Masked off the blade and painted the handle and guard sections gold
- Applied the blue paint to the handle between the gold accents
- Once dry, we added the finishing touches with careful detail work
The Finished Product#
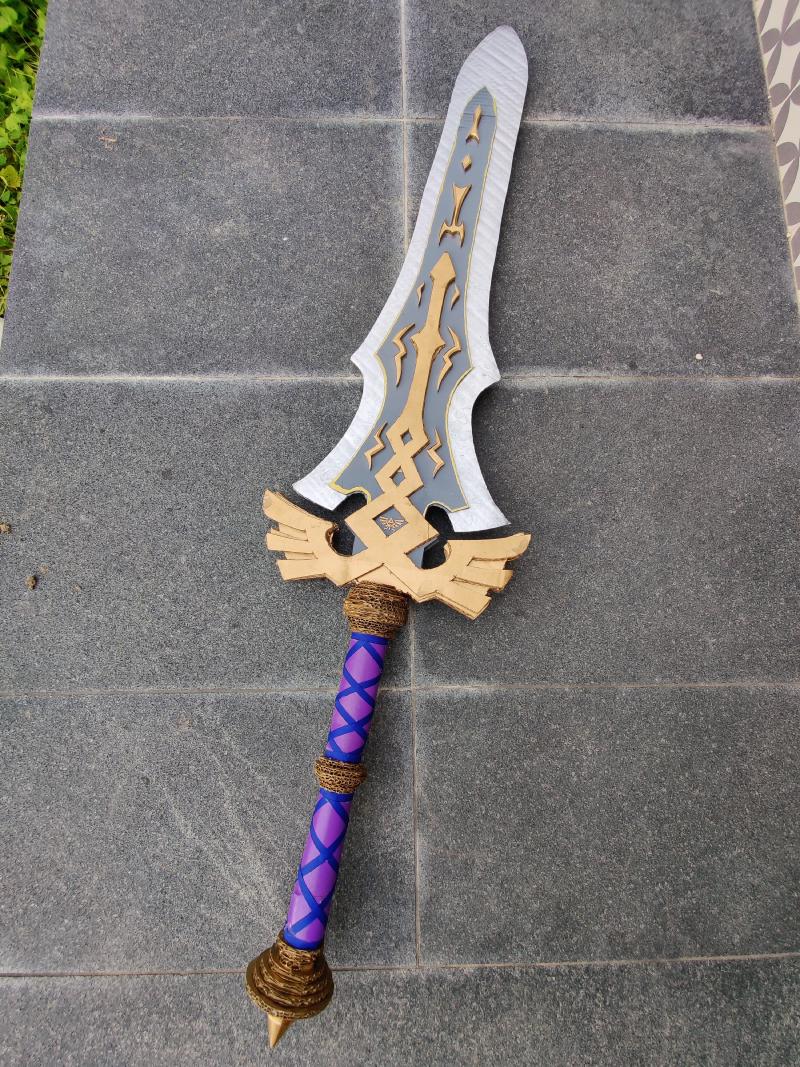
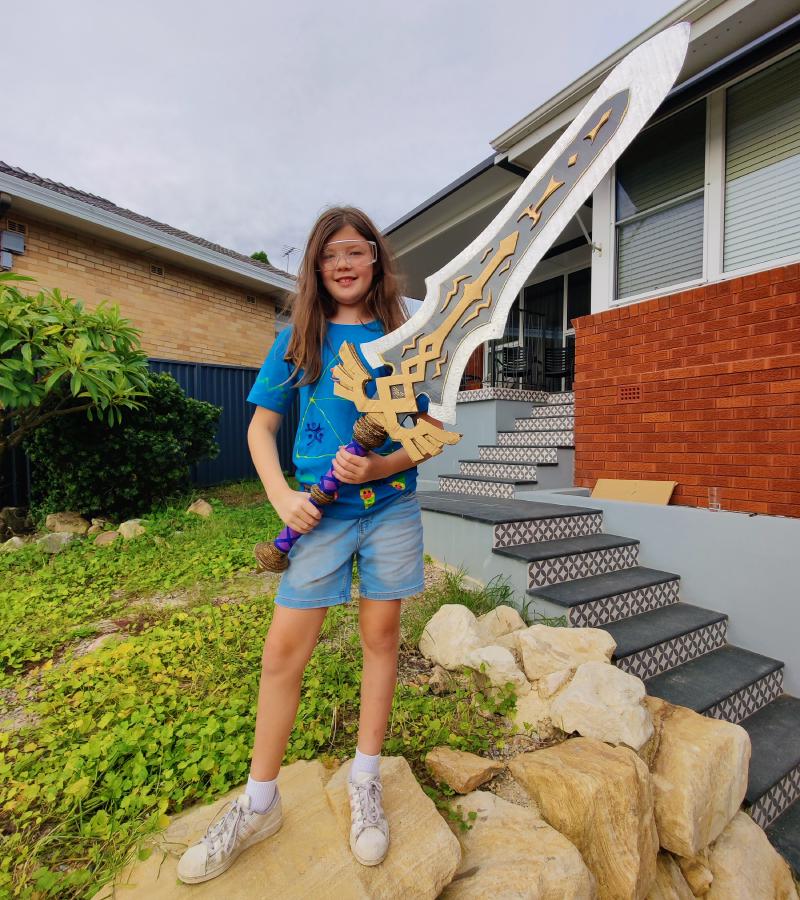
The completed Royal Claymore stands at an impressive 1.2 meters long, matching the scale of the two-handed sword in the game. Despite its size, the cardboard construction keeps it lightweight enough for display while the wooden core provides enough rigidity to prevent bending.

My daughter was rightfully proud of her creation - not only did she earn high marks for her school project, but she now has a stunning replica of one of her favorite Zelda weapons.
Wall Display Mount#
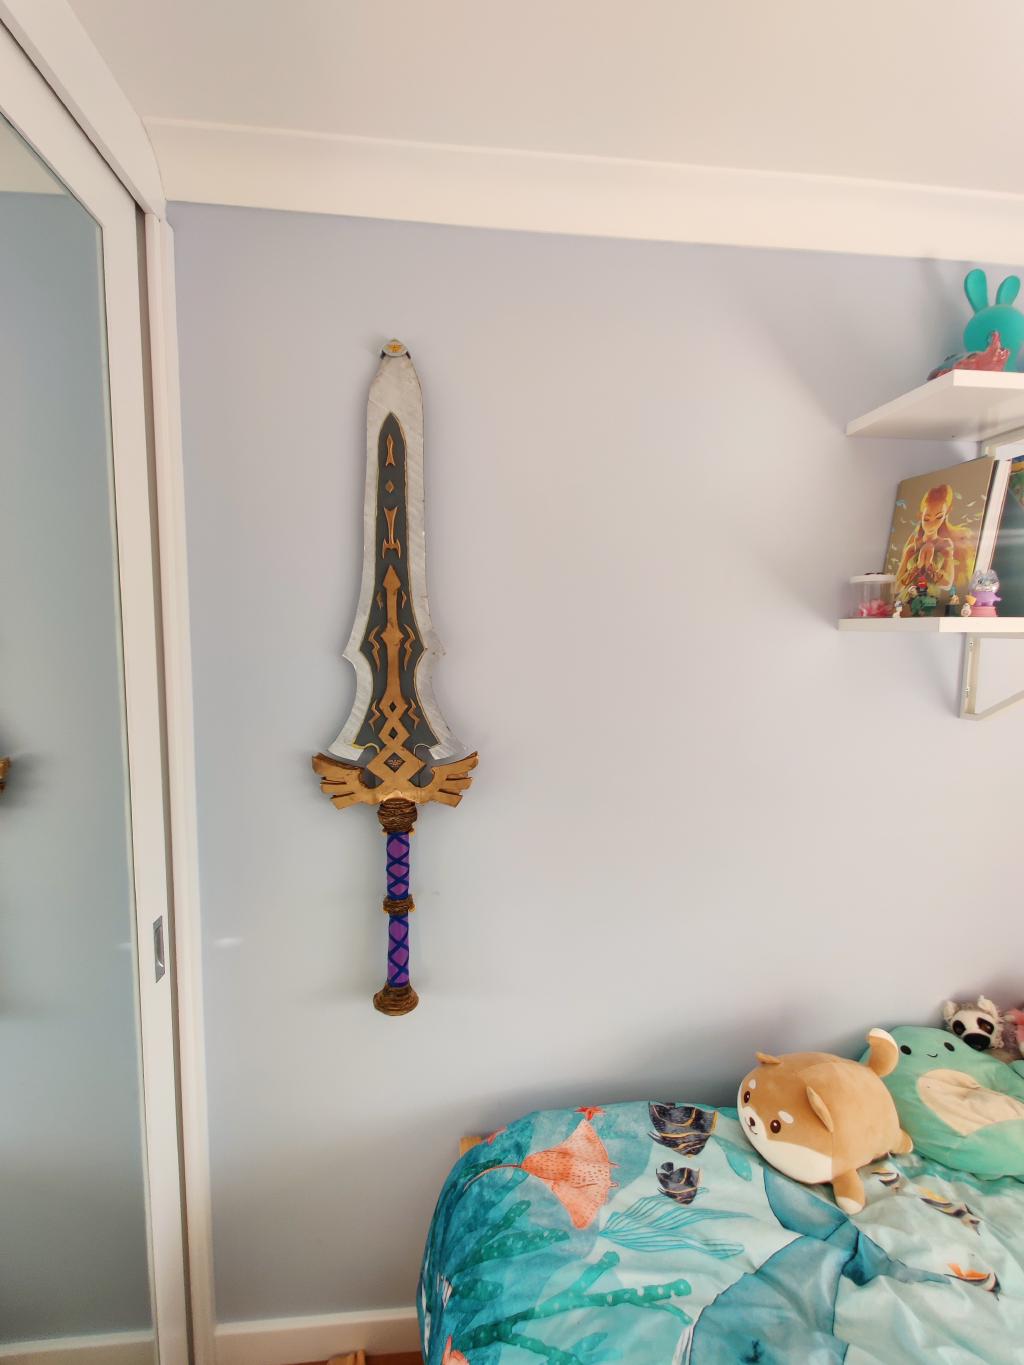
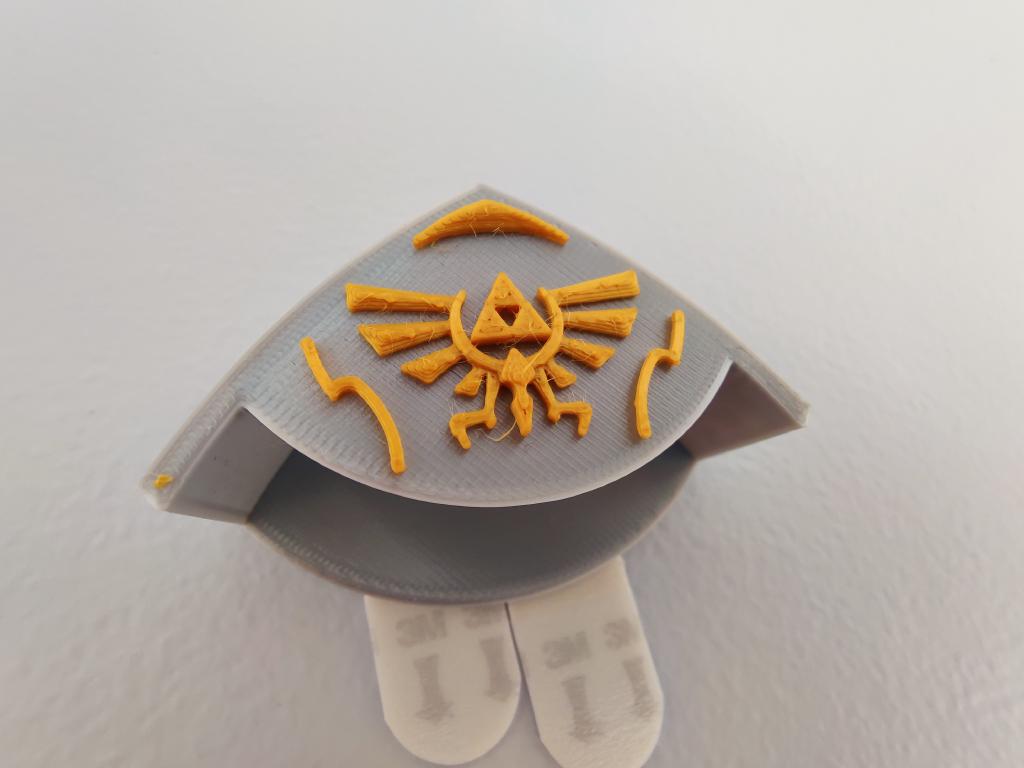
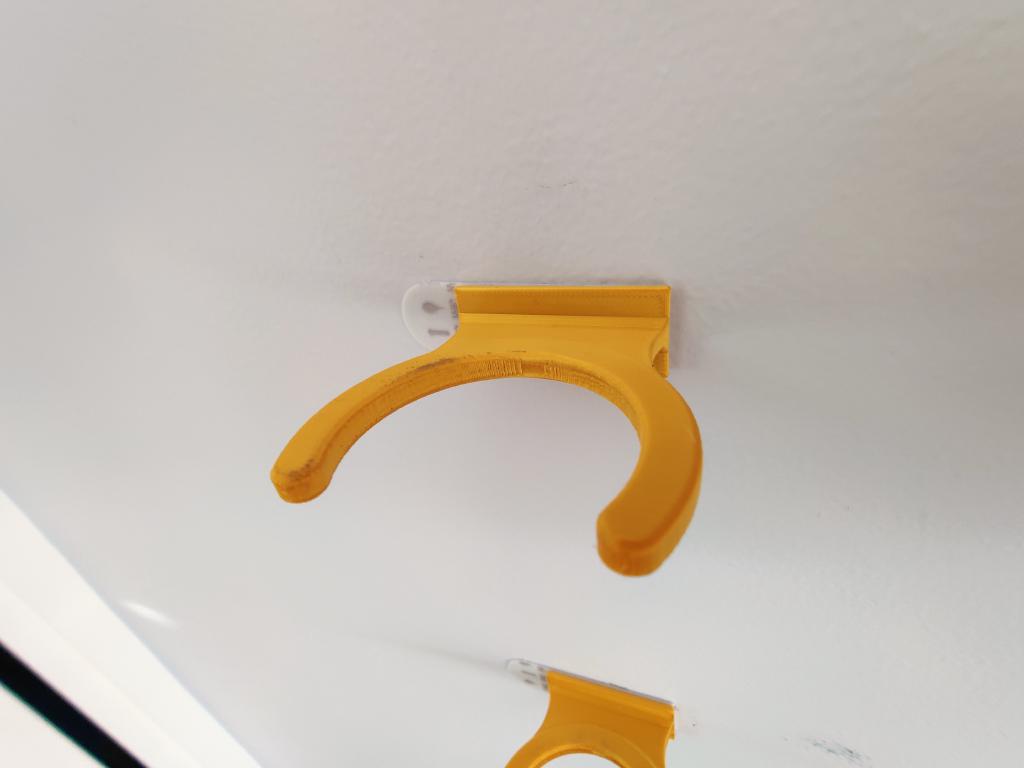
As a finishing touch, we designed and 3D printed wall hooks specifically for displaying the sword in my daughter's room, mimicking how weapons can be displayed in Link's house in the game. These custom mounts securely hold the sword while showcasing it as a proper piece of wall art.
Downloads#
For those wanting to create their own Royal Claymore, we're sharing both the sword template and the STL files for the 3D printed elements:
- Royal Claymore Sword Template (PDF)
- Royal Claymore 3D Elements (STL files)
- Royal Claymore Wall Mount (STL files)
Final Thoughts#
This project was a significant step up in our cardboard crafting journey. The addition of 3D printed elements opened up new possibilities for detail work that we'll definitely be exploring in future projects.
For anyone interested in our other Legend of Zelda weapon recreations, check out the Swords-n-Stuff collection.