
The Great Frostblade: An Elemental Marvel#
In The Legend of Zelda: Breath of the Wild, the Great Frostblade is one of the most visually distinctive weapons in the game. This greatsword, part of the Great Elemental sword grouping is described as being "forged from ancient ore found in the permafrost of the Hebra Mountains" and has the power to freeze enemies solid with a single strike.
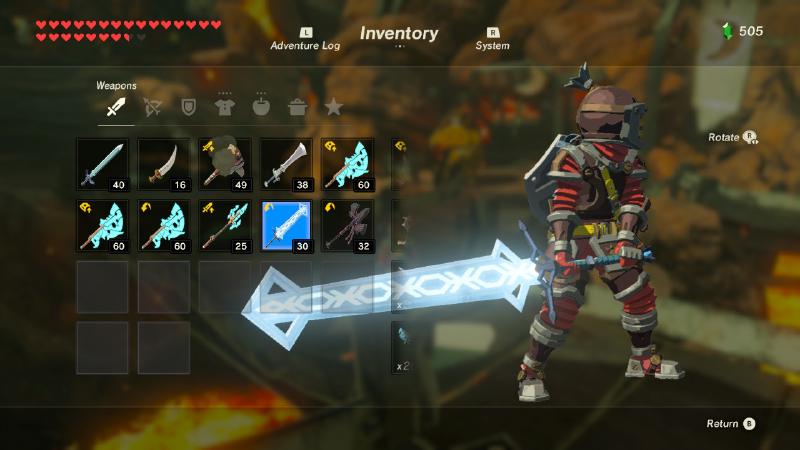
The blade's distinctive blue glow intensifies during cold weather or at night, and has a freezing effect that temporarily immobilizes foes.
What makes the Great Frostblade particularly special among Breath of the Wild's weapons is its unique geometric light pattern that runs along the blade, creating an ethereal icy blue glow that seems to pulse with cold energy. This distinctive visual effect made it a perfect candidate for incorporating LED lighting in my replica.
After completing the Great Thunderblade in 2022, I knew I wanted to tackle the Frostblade next, while using some of the learnings from recent WLED projects like the Triforce wall art and Mountain Peaks that used microcontrollers and addressable LEDs for lighting. After considering and rejecting using cardboard again for the blade, this is the first project using 100% 3D printed construction, which actually made things simpler to design and construct.
3D Model Design and Print#
Learning from my previous projects, I decided to make this sword entirely through 3D printing rather than the hybrid approach used for the Great Thunderblade and Stone Smasher . This eliminated the material transitions between cardboard and plastic, creating a more cohesive final piece and simplifying the build (and removed the laser cutting costs)
Designing for 3D Printing#
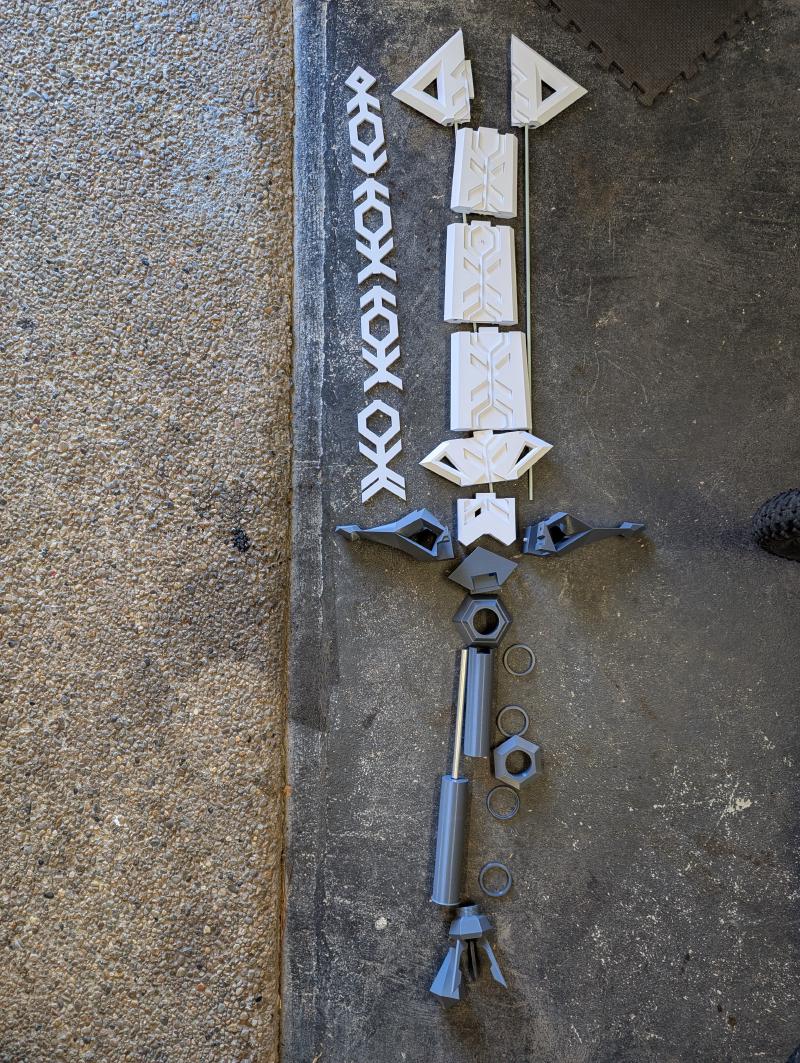
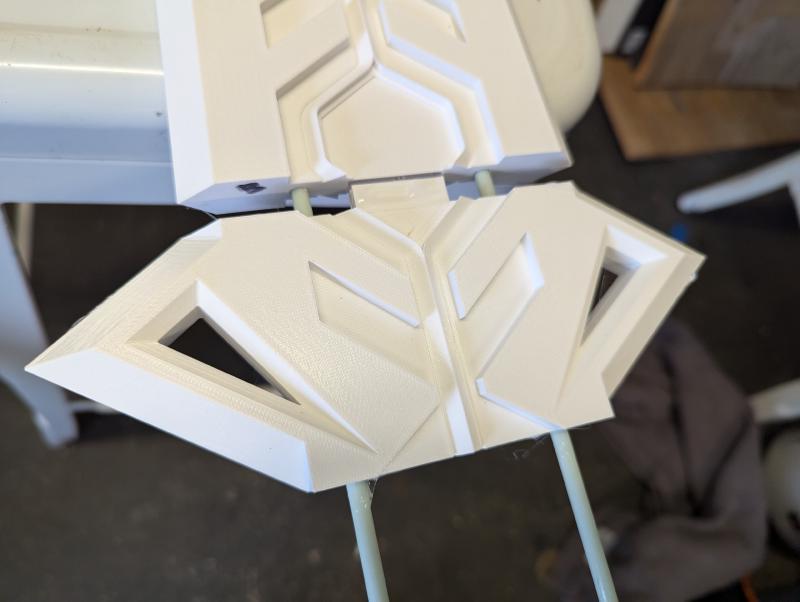
I started with a comprehensive Fusion 360 model of the entire sword. The complete design consisted of 34 separate parts - a necessary compromise to work within the build volume limitations of my Prusa Mini+ printer and to optimize print quality by minimizing supports.
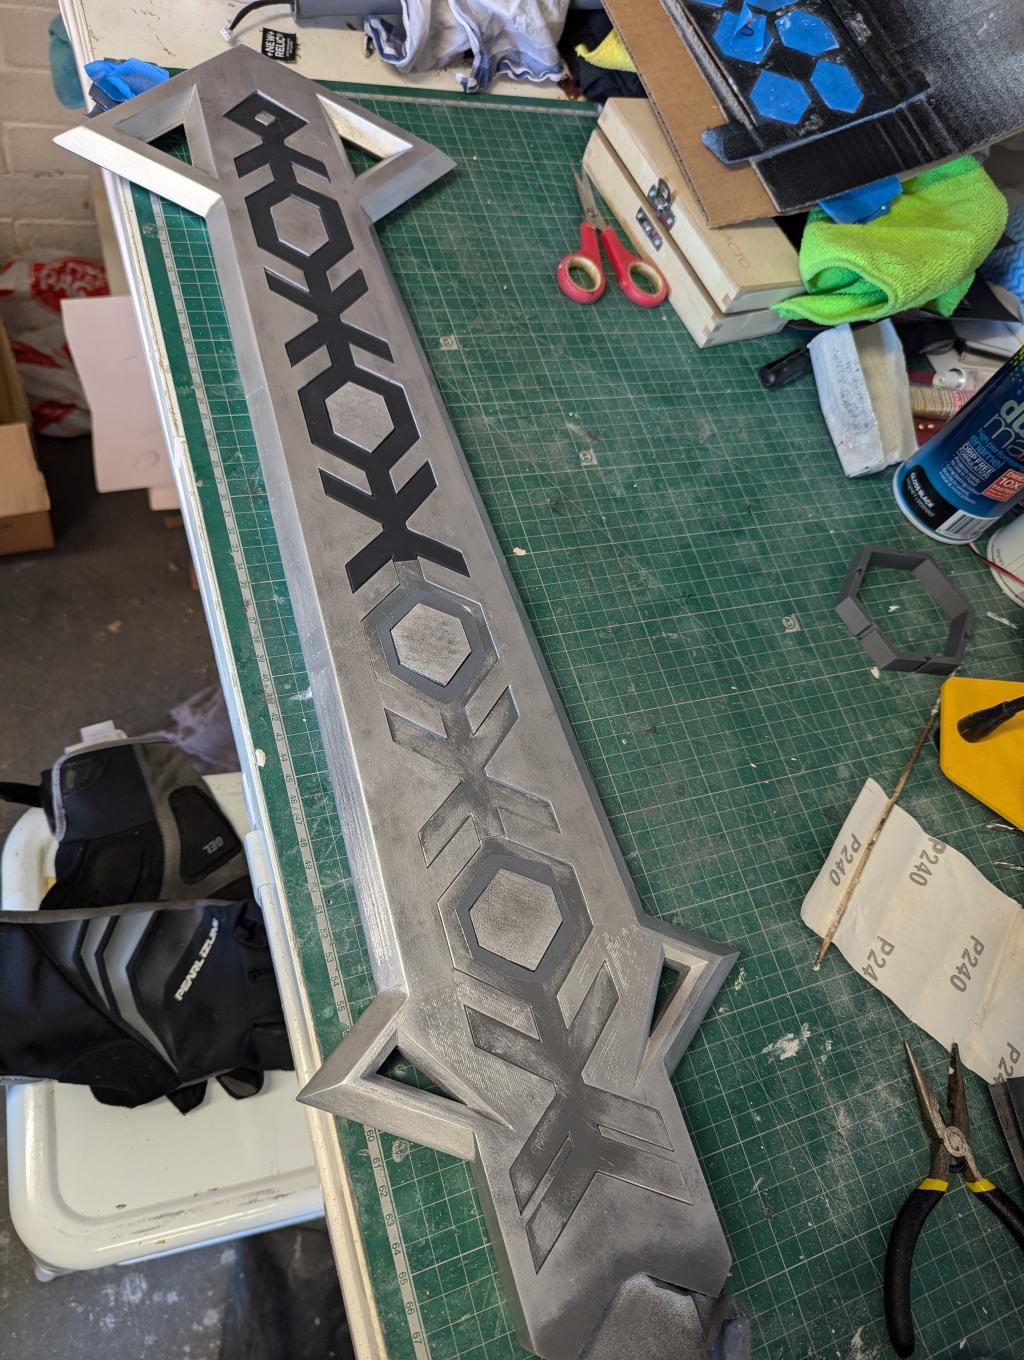
The blade alone was split into 7 main sections, with each section further divided into top and bottom halves for printing (totaling 14 blade parts). While this approach created more assembly work, it allowed me to incorporate LED lighting diffusers and lighting pattern and still print each part without supports, resulting in cleaner surfaces that required minimal sanding.
The crossguard section was particularly challenging to model. Being quite an unusual shape and orientation, it wasn't immediately obvious how to create this in the Solid workspace in Fusion. I eventually resorted to Surface modelling that allows a lot more flexibility to create more complex shapes. It's not an area I'm very familiar with and I was very happy with the results.
For continuity with my previous build, I largely reused and adapted the handle design from the Great Thunderblade, though with some improvements for the battery bay and adjustments to stay true to the source material.
The Printing Process#
Printing all the components was time consuming and was completed over a number of days & weeks. When I do models like this in multiple parts, I ensure there are 0.2-0.4mm tolerances between parts that need to fit together, ensuring snug or slightly looser fits depending on what's required for assembly.
I printed this all with PLA which was fine for these requirements. The colour wasn't hugely important as everything was getting a few layers of paint. The odd shaped cross guard printed in two parts just fit diagonally on the print bed, while the slices of blade each were designed to fit on the build plate.
Building the Blade#
After printing, it was time to make the blade back into one piece. Out of Fusion, these are all designed to fit together nicely and I add internal supports to ensure a strong final product.
Structural Reinforcement#
While I've used internal supports in my past build, for the Frostblade I switched to fiberglass rods for structural support. Two fiberglass rods run the entire length of the blade, providing significant rigidity while adding minimal weight.
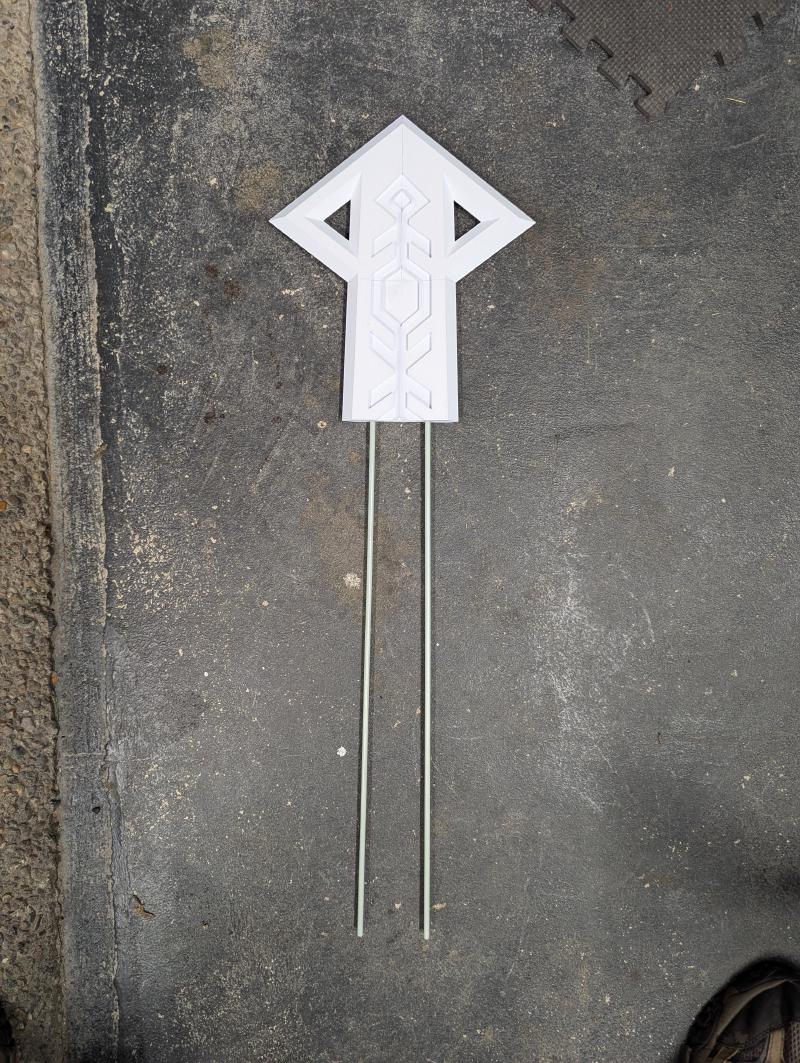
These rods served a dual purpose:
- Providing structural integrity to prevent the blade from flexing
- Acting as alignment guides during assembly of the various blade sections
The fiberglass was an excellent choice compared to metal alternatives - it's lightweight and can be easily cut.
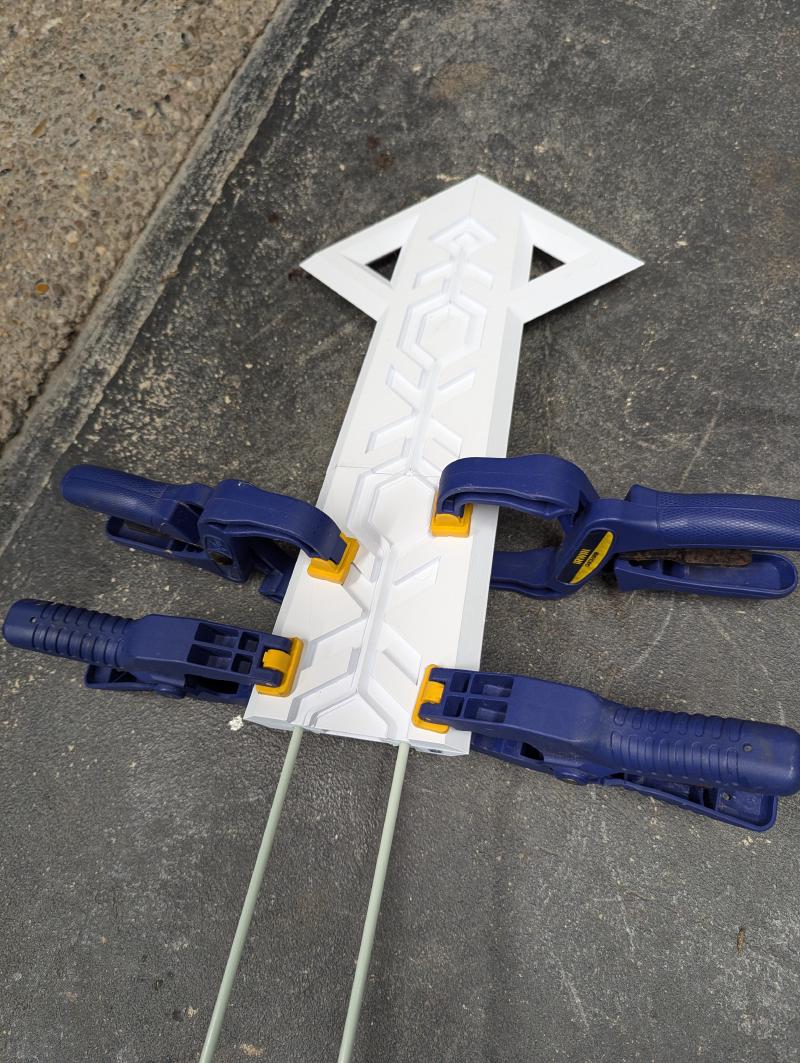
Blade Assembly#
Each blade section was designed with interlocking features to ensure perfect alignment. After test fitting all components, I used Weldon-16 adhesive to permanently bond the 3D printed parts. This solvent-based adhesive creates an incredibly strong bond with PLA, essentially welding the parts together.
The geometric pattern characteristic of the Frostblade was incorporated directly into the 3D model, with channels designed specifically to house the LED strips that would illuminate these patterns.
Lighting and Electronics#
Building on my experience with the Great Thunderblade and previous WLED projects, I wanted to take the lighting system to the next level.
Advanced LED Implementation#
For this project, I used 5mm Narrow WS2812B Pixel LED Strips - addressable LEDs that allow for individual control of each LED in the strip. This was a significant upgrade from the standard white LEDs used in the Great Thunderblade.
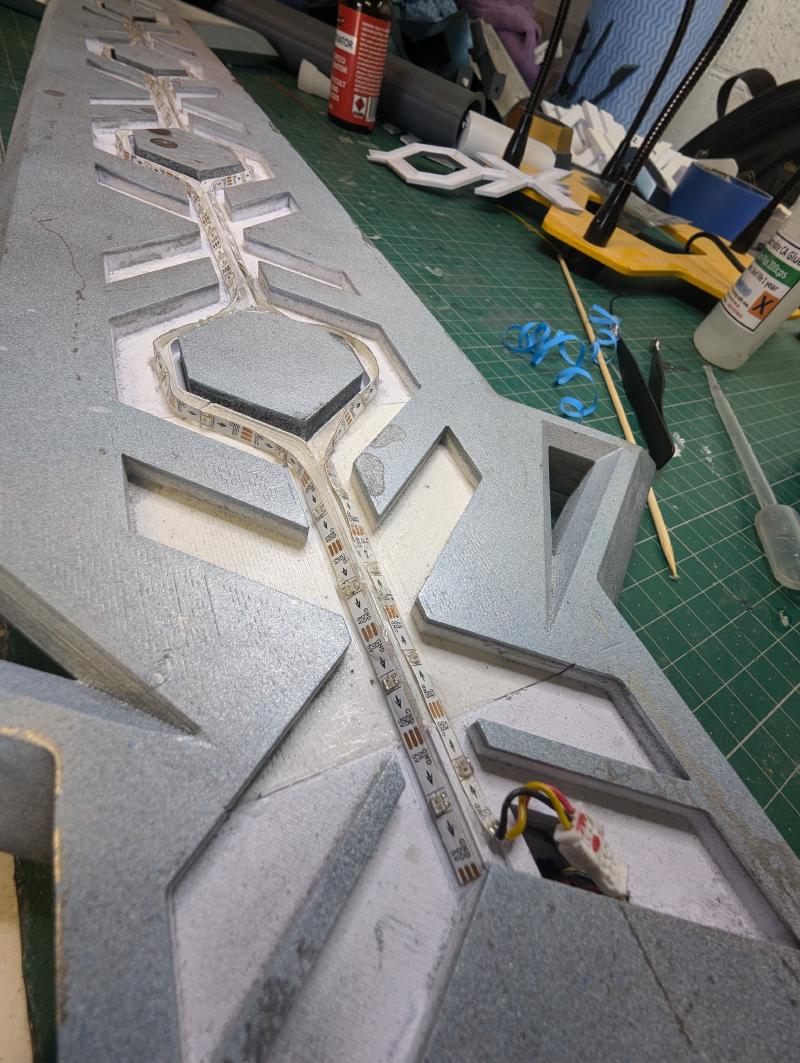
The blade was designed with angled rails that the LED strips could be mounted to, allowing them to shine through the geometric pattern. This design allowed me to use a single continuous LED strip for each side of the blade, eliminating the tedious soldering of multiple segments that plagued my Thunderblade build.
To install, I soldered connectors to the end, built a small parallel wiring harness so both sides of the sword would receive the same power and data feed and then superglued them into the sword "rails".
LED Controller#
At the heart of the lighting system was an ESP8266 D1 Mini microcontroller running WLED firmware. This compact but powerful controller was installed in a specially designed compartment in the sword's crossguard, accessible via a screwed panel for programming and maintenance.
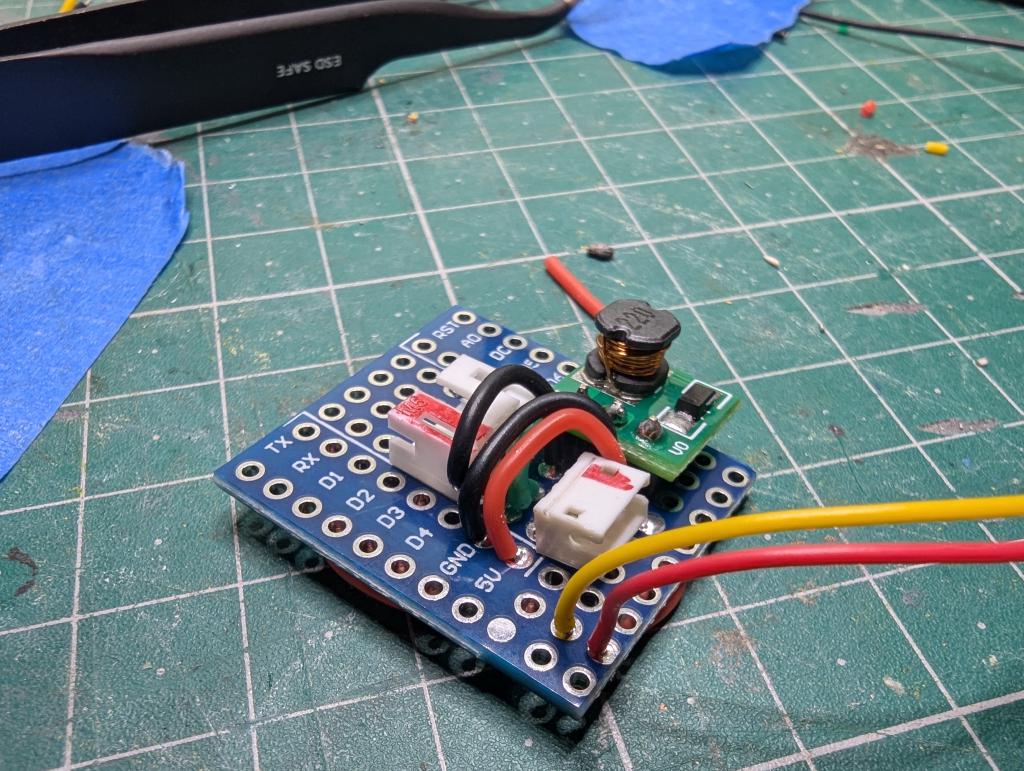
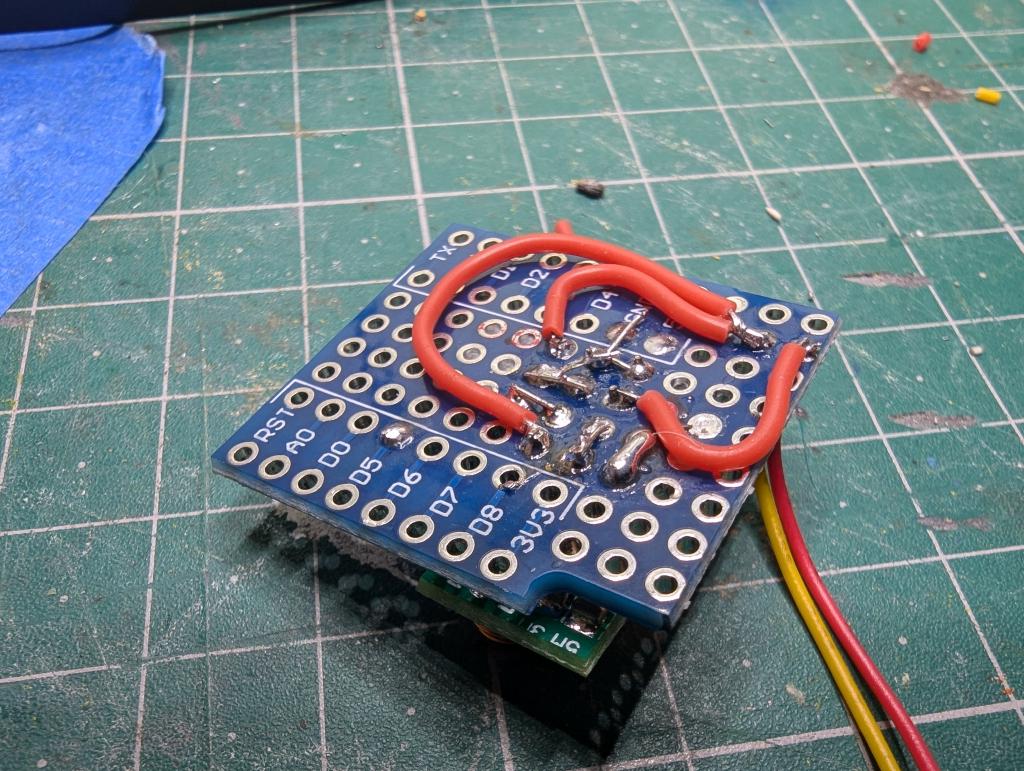
I've used the ESP8266 on a number of projects and while it's starting to show it's age, it's great in smaller spaces like this. I mount the D1 Mini in this case on a compatible breadboard that simplifies some of the wiring and hand soldered on the JST connectors and wires. It's not pretty per se, but generally works. At some stage I'll get around to trying a custom PCB for these projects to make this nice and neat.
For software, I love using WLED for these projects - it's arguably overkill but it allows you to get to done quickly and is good enough for these projects.
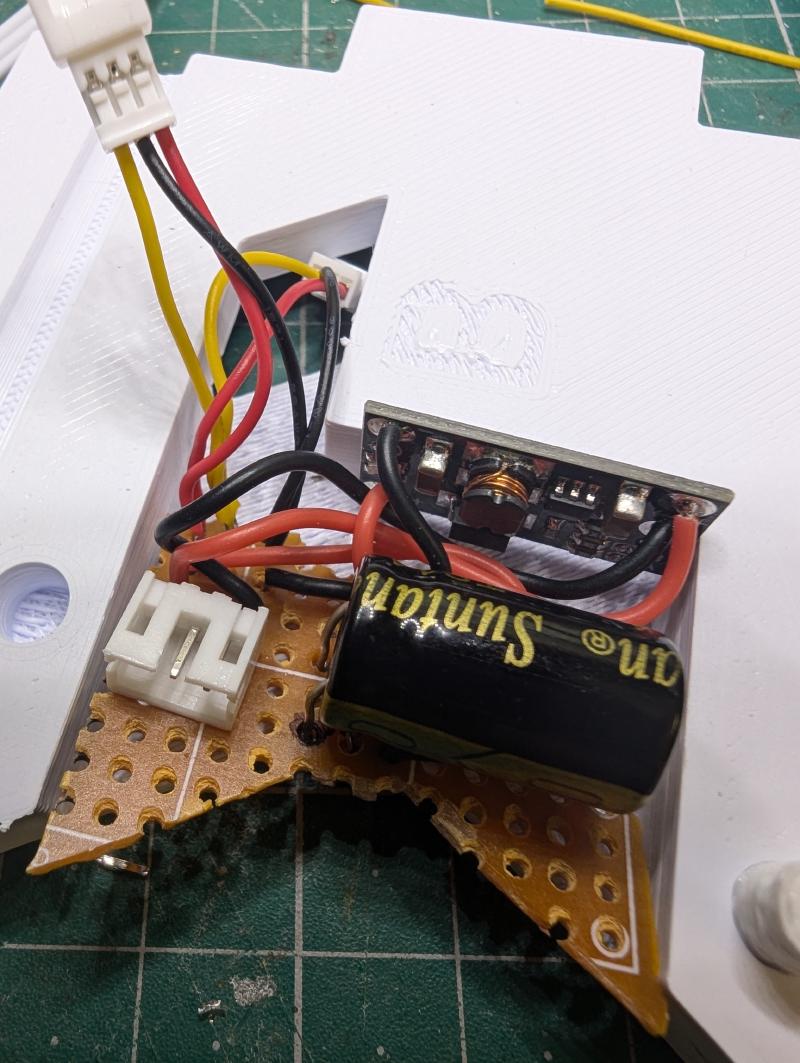
The blade itself has a small electronics package, with a voltage converter to bring the battery supply up to 5v and a capacitor to even out the supply.
Power System Upgrade#
Learning from previous projects, I upgraded the power system to use an 18650 LiPo battery housed in the handle, replacing the 9V battery used in the Thunderblade. This provided:
- Higher capacity for longer operation
- Rechargeable capability via a USB module
- Better power delivery for the addressable LEDs
The battery compartment is designed to be removable, allowing the battery to be easily taken out for recharging via USB.
Diffuser Design#
Creating a diffuser that evenly distributed the LED light took several iterations. I've used transparent or opaque PLA in the past and wasn't happy with the finish. Just using white filament that is quite thin looks much better and works quite well.
I printed custom diffusers to cover the LED channels, testing various thickness levels to find the perfect balance between light diffusion and brightness. The white PLA diffusers proved far superior to the transparent filament I had used for the Thunderblade, creating a more even glow with less visible "hot spots" from individual LEDs.
Finishing and Paint#
The painting process for the Frostblade required careful planning to achieve the distinctive icy blue appearance of the in-game weapon. But before any paint could be added, those joins needed to be disappeared. Using Tamiya Plastic Putty and various rounds of sanding from 200-800 grit helped here - but it always takes such a long time!
Multi-Layer Paint Approach#
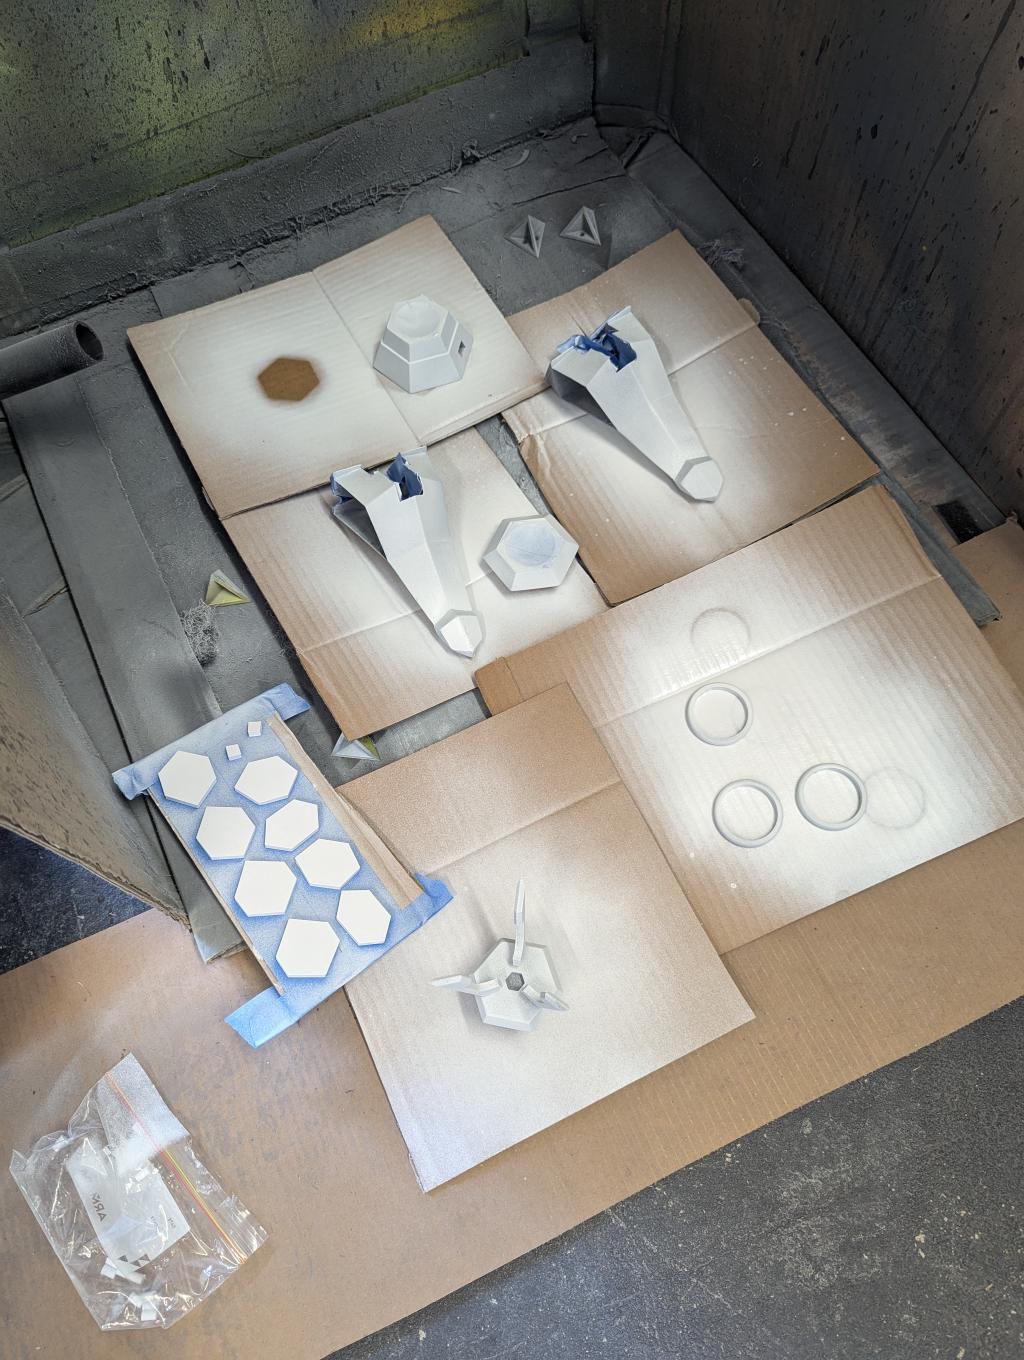
I used a multi-stage painting process:
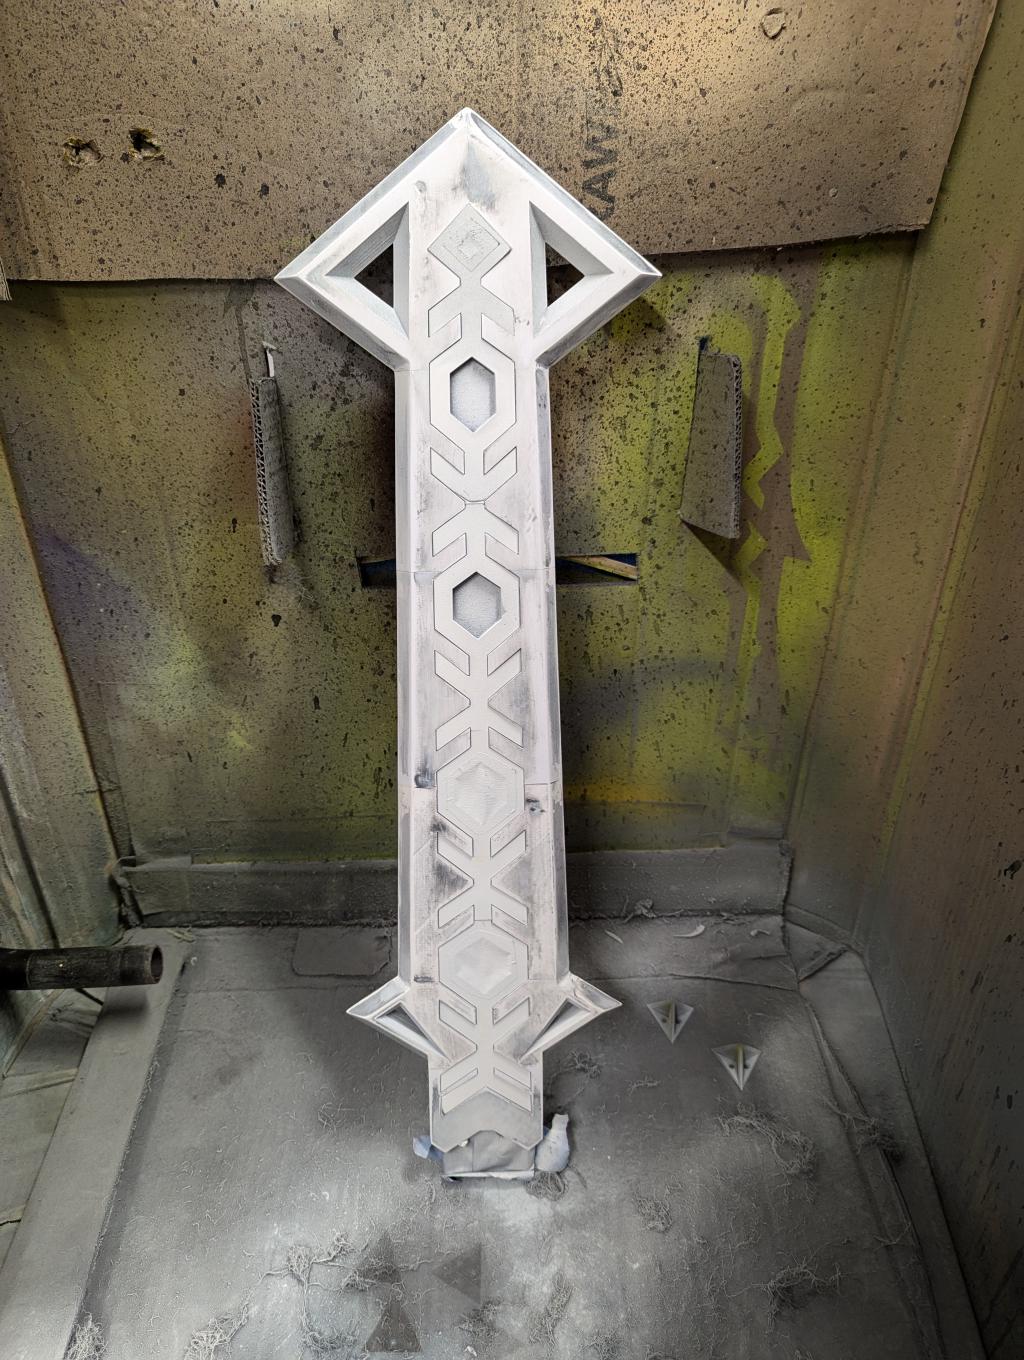
- Gloss black primer coat. Helps the chrome pop later.
- A layer of chrome/silver spray across all components to show represent the steel/metal
- For this blade, Tamiya Clear Blue TS-72 and white lightly applied over the chrome gave the translucent ice effect.
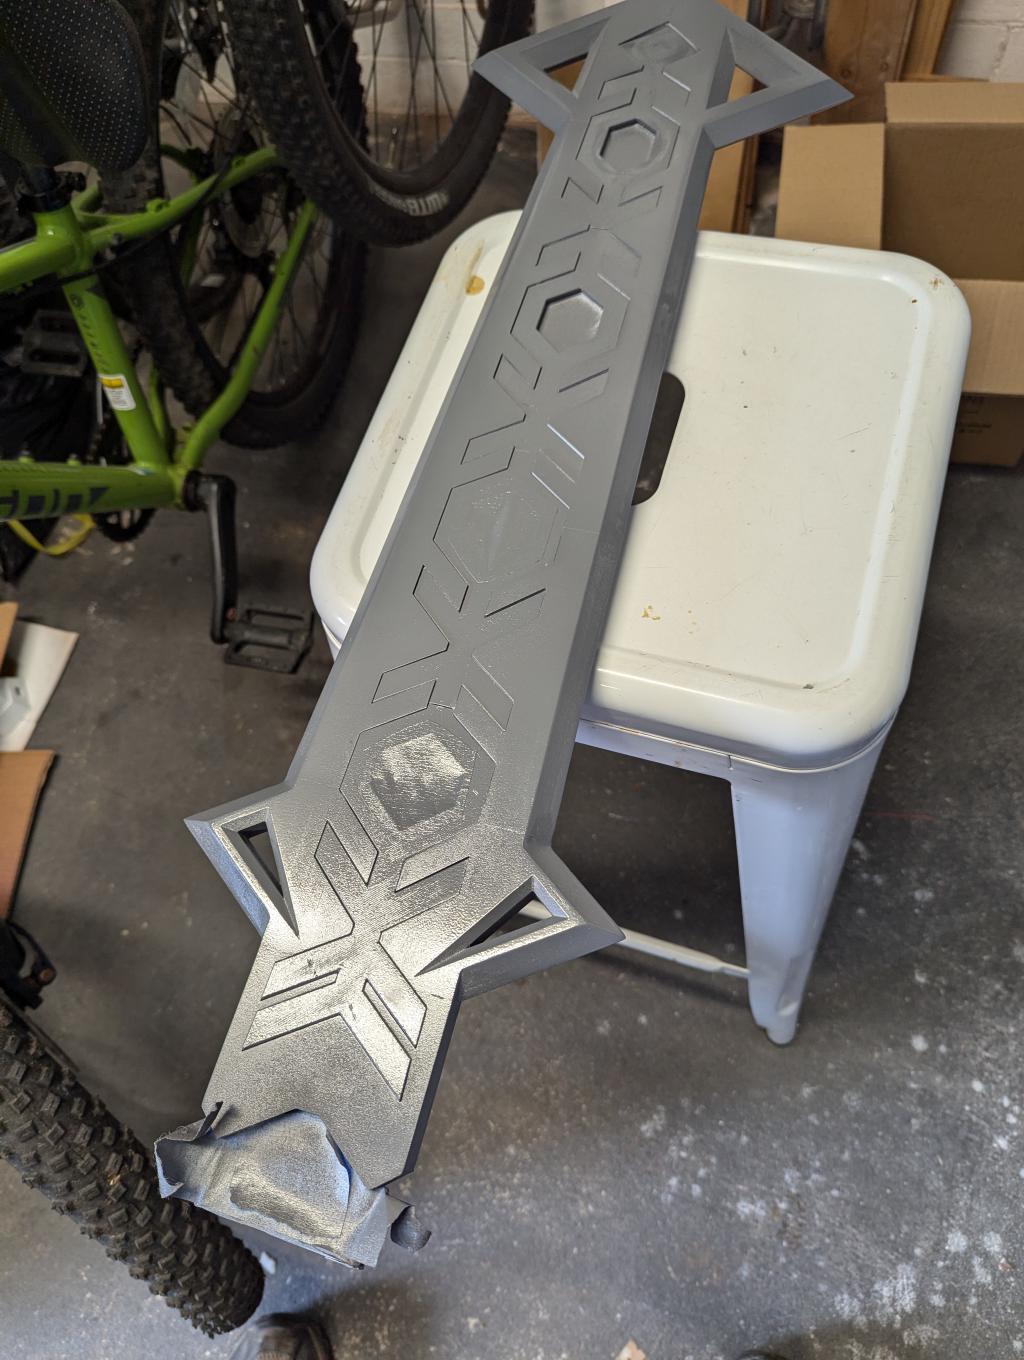
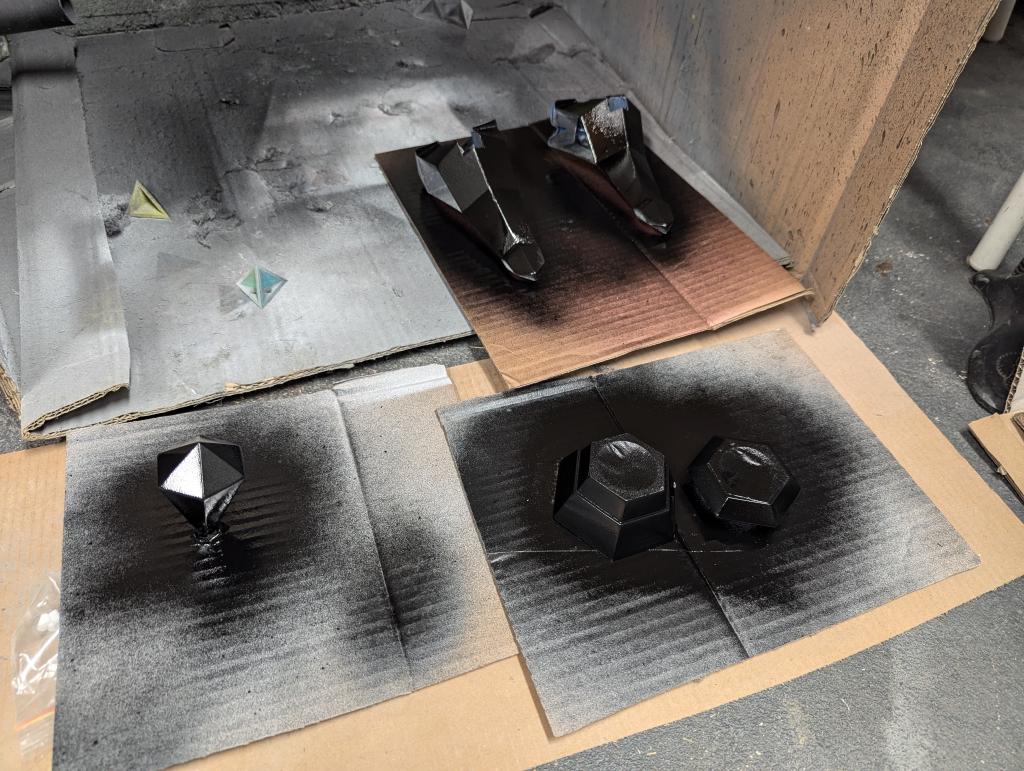

The Tamiya Clear Blue over chrome was a game-changer for this project. This transparent color created a stunning metallic ice effect that catches light beautifully.
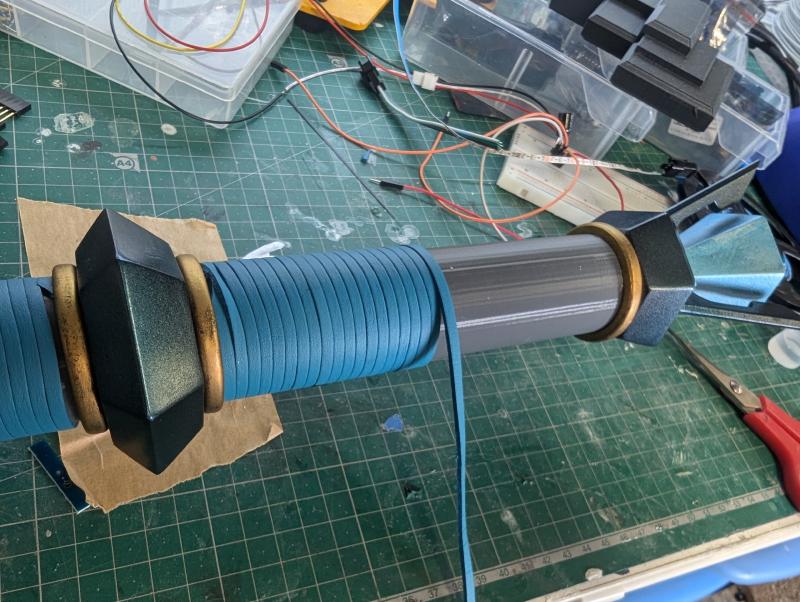
Building the Handle#
After painting individually, bringing the handle components around a hollow metal tube is quite straight forward. Again using Weld-On 16 for a strong connection.
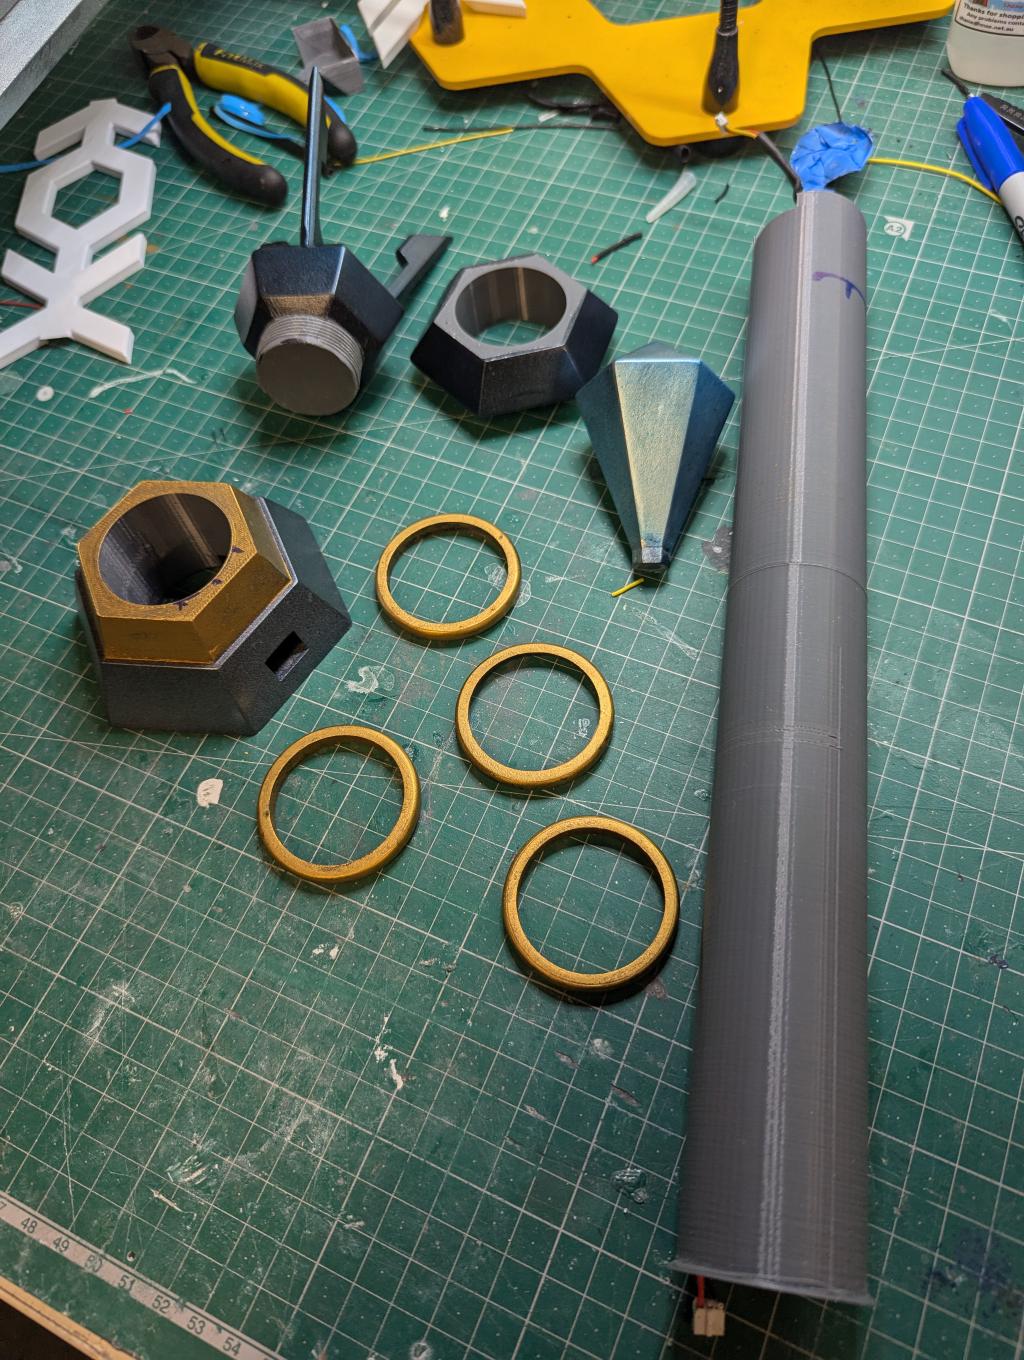
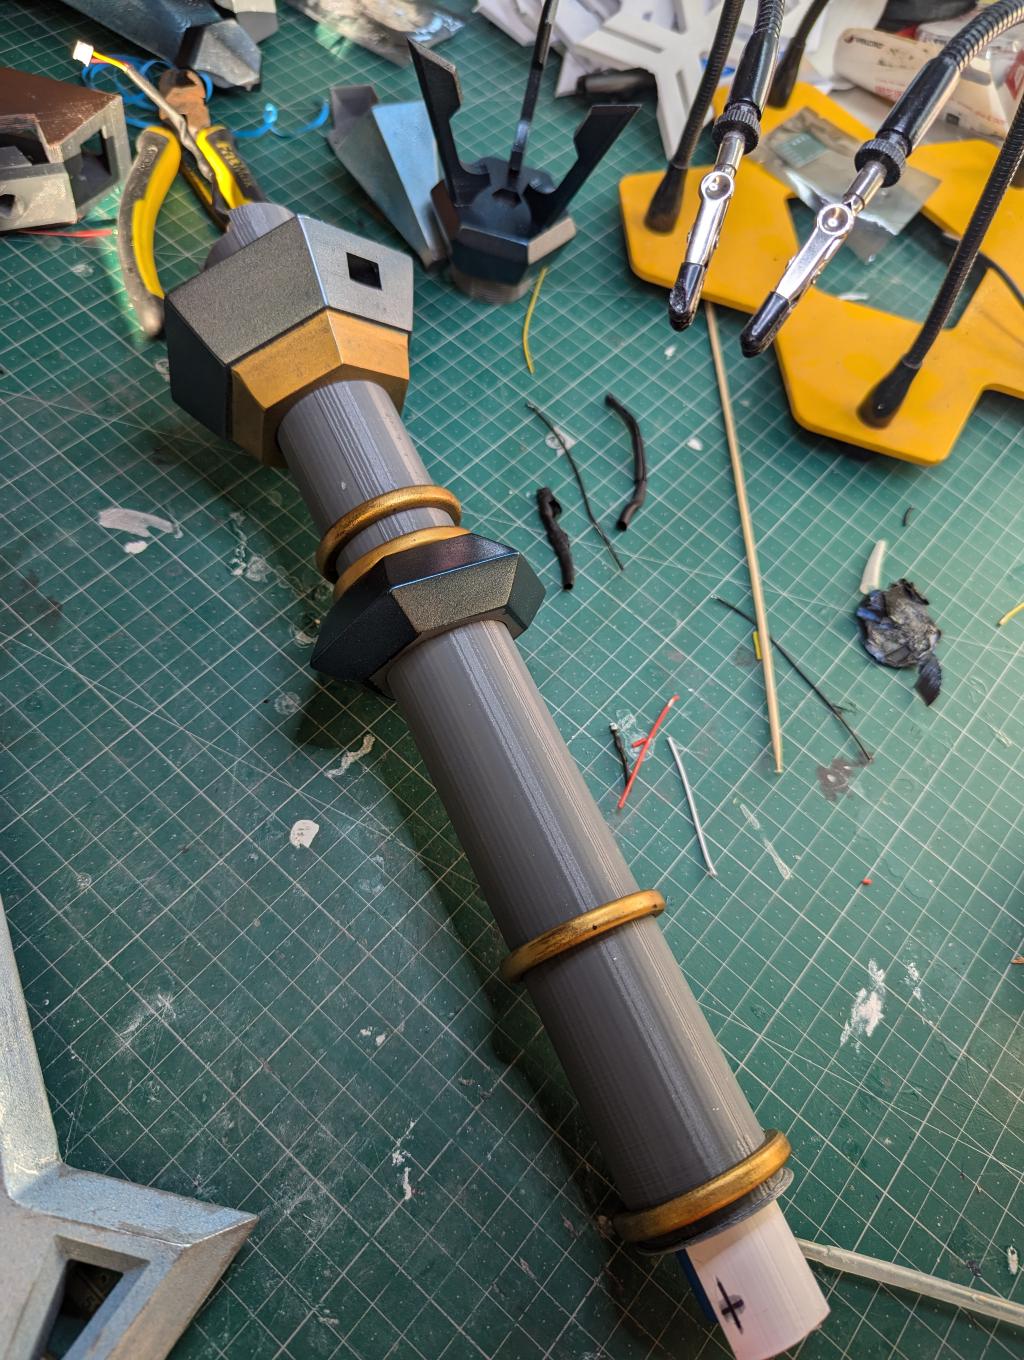
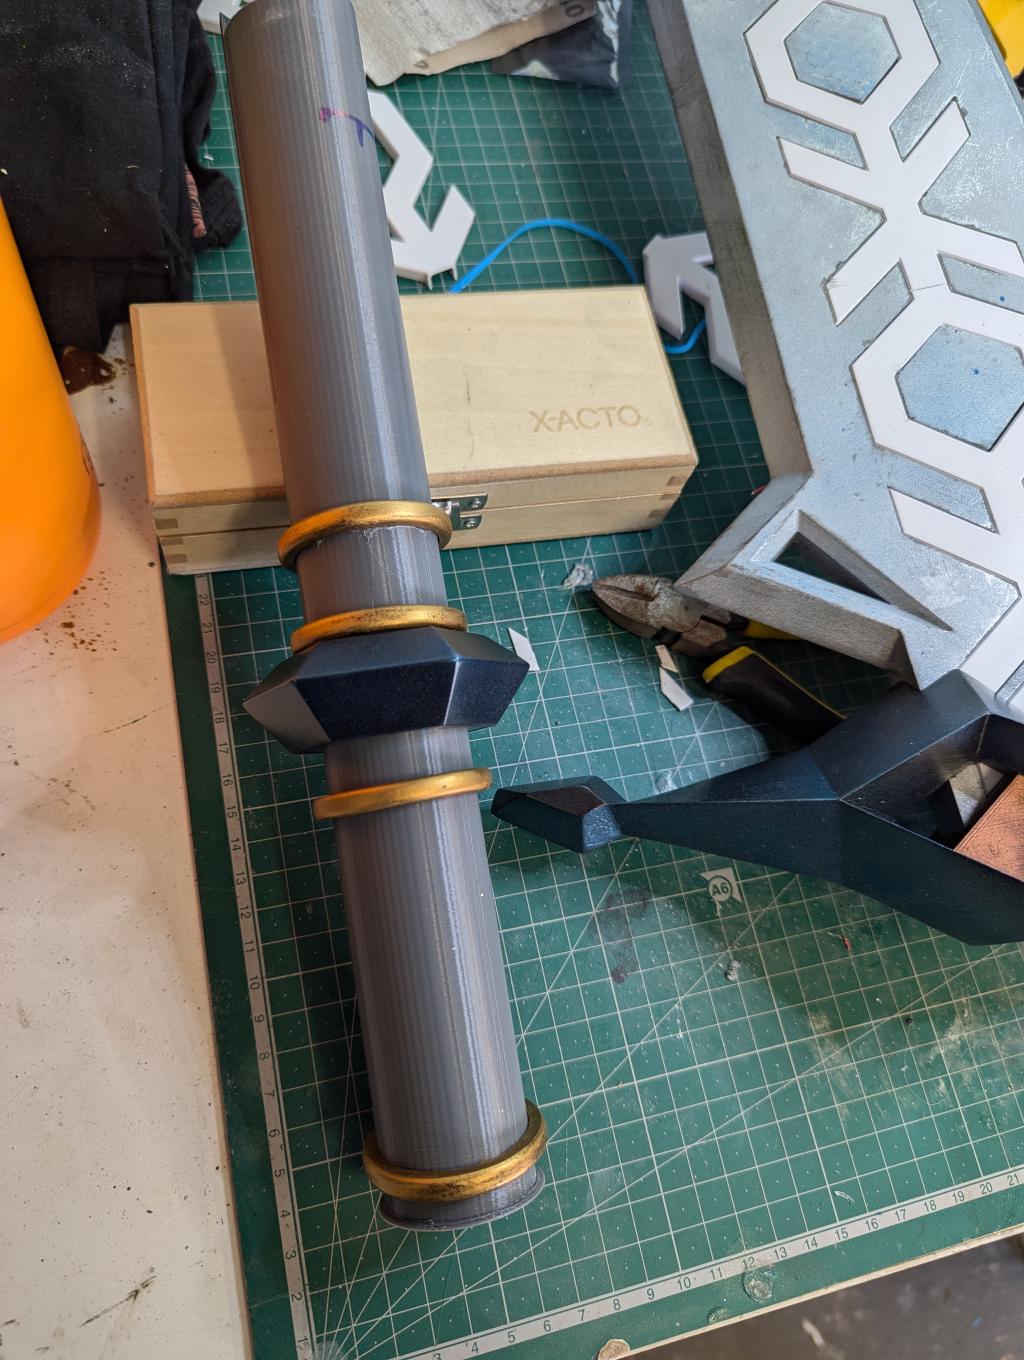
For the handle, I wrapped it with blue "leather" similar to the in-game design. This not only looked accurate but also provided a comfortable grip. Gold accents were added to the pommel and crossguard, with weathering applied to make these elements look worn from use.
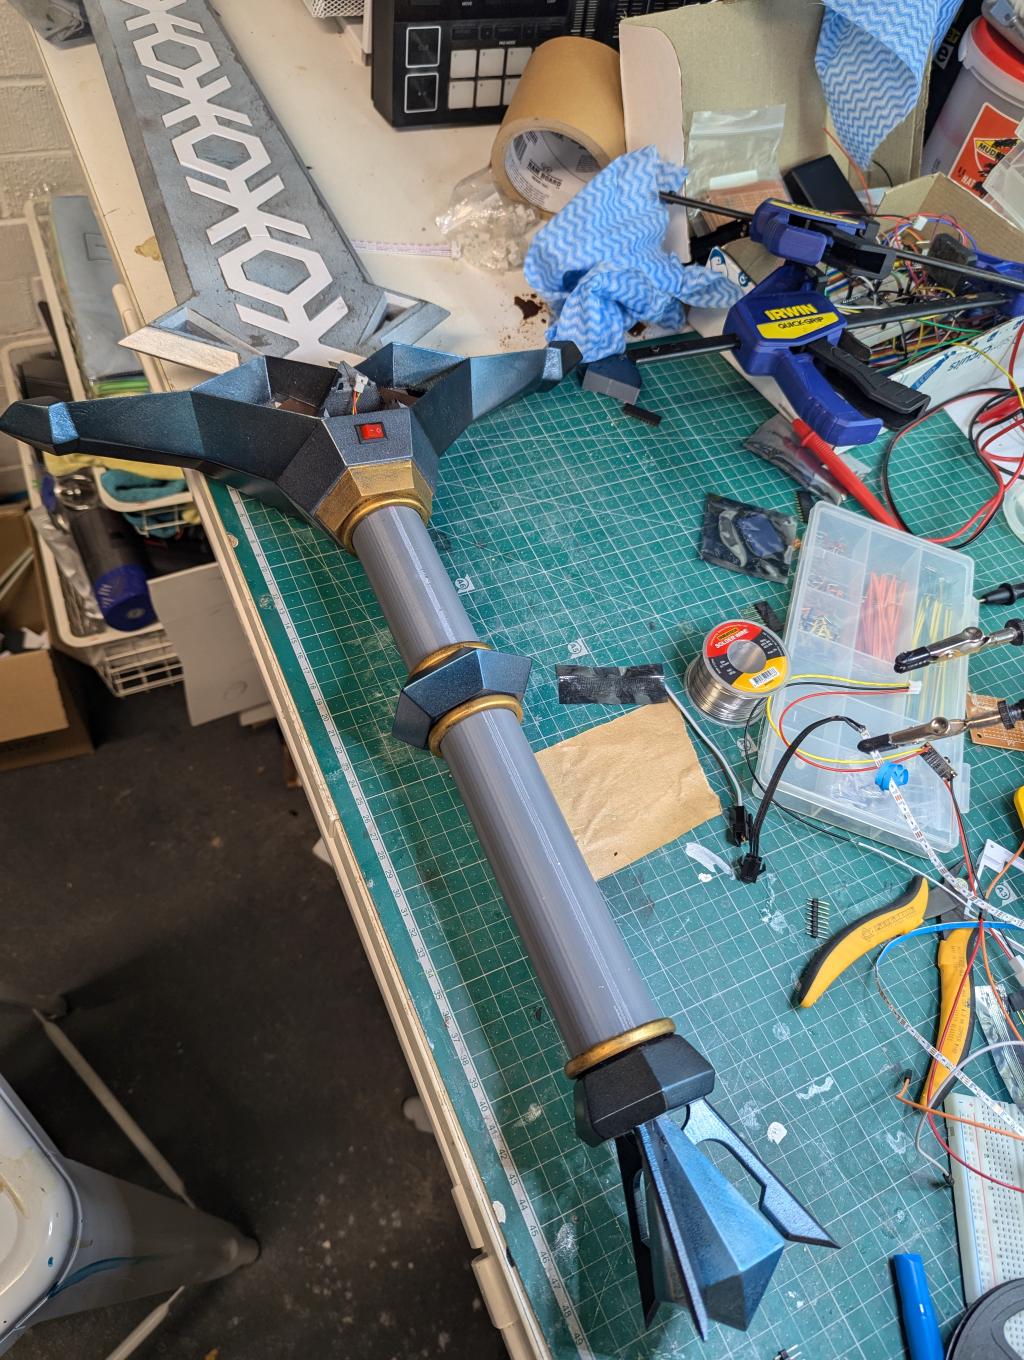
The Final Result - With an Unexpected Twist#
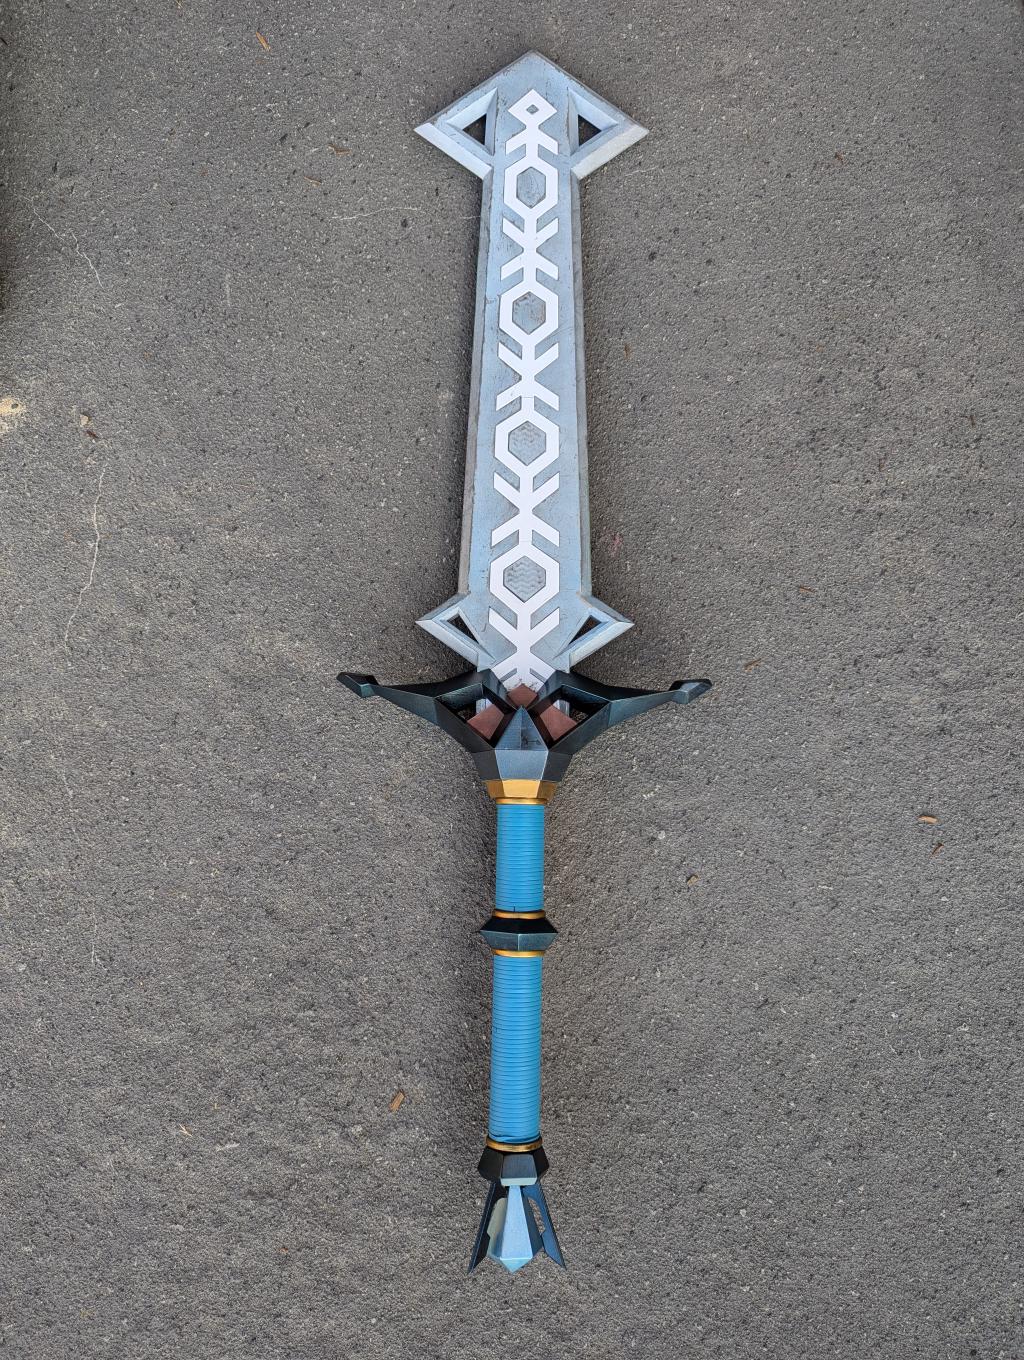
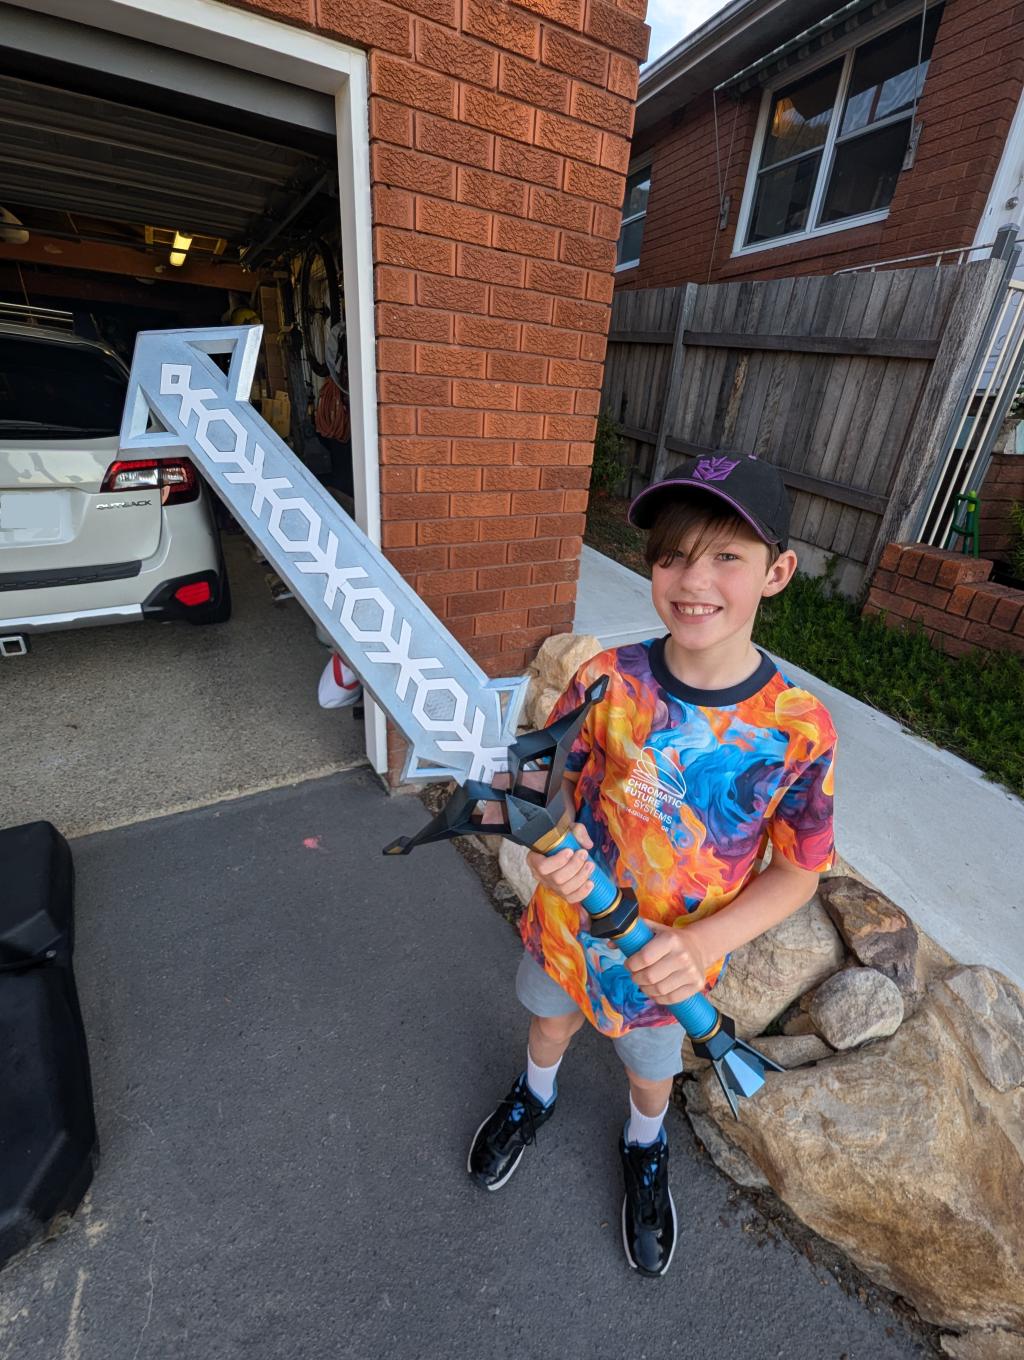
The completed Great Frostblade is visually stunning and represents my most technically advanced prop build to date. The combination of full 3D printing, internal reinforcement, and detailed painting created a prop that closely matches its in-game inspiration.
The Lighting Disaster#
Are you wondering why you haven't seen the LEDs in action?
Unfortunately, this project also taught me a painful lesson about serviceability. After completing the final assembly - connecting the blade to the handle and permanently gluing everything together - the LEDs mysteriously stopped working.
While the controller and battery functioned perfectly when tested independently, something in the connection between the microcontroller and the LED strips had failed. Despite extensive troubleshooting, I couldn't identify or fix the issue because all the components were now sealed inside the assembled sword.
The lesson was clear: never permanently seal electronics without ensuring multiple access points for maintenance. This was a hard-learned experience that I applied to my next electronics project, the Minecraft Diamond Sword with Motion-Reactive LEDs , which has serviceability designed in from the outset.
Downloads#
For those interested in creating their own Great Frostblade, I'm sharing the design files soon!
Final Thoughts#
The Great Frostblade represents another significant milestone in my prop-making journey. While the electronic failure was disappointing, the overall build quality and appearance exceeded my expectations. The sword still makes for an impressive display piece, and the techniques I developed during this project have already informed and improved my subsequent builds.
Every project teaches new lessons, and sometimes those lessons come from failures rather than successes. The Great Frostblade may not light up as intended, but it illuminated the path forward for better electronic integration in future projects.
Explore my other Legend of Zelda weapon recreations in the Swords-n-Stuff collection below.