The measuring problem#
When I started designing custom stickers for my Wipeout Lego builds , the first challenge was obvious: how do you design something at exactly the right size without measuring every individual brick with a calliper?
The answer, it turns out, is that you don't measure at all. You look it up.
LDUs: Lego's secret unit#
Everything in Lego is designed around a unit called the LDU — Lego Design Unit. If you've been in the community a while you probably know this. I did not.
Here's what you need:
- 1 LDU = 0.4mm
- A stud width = 20 LDU = 8mm
- A brick height = 24 LDU = 9.6mm
- So a 1×2 plate = 16mm × 8mm
That's it. With those numbers you can calculate the face dimensions of any standard brick or tile without touching a ruler. Full the full low down, check out this post over at BrickNerd .
Setting up your grid in Illustrator#
I use Adobe Illustrator, but any vector tool that supports custom grids will work.
You could set up an 8mm grid with 20 subdivisions to match LDUs exactly, but that's overkill for sticker design. Stickers sit on whole brick faces, not individual LDU positions, so here's what I actually use:
| Grid line every: | 8mm |
| Subdivisions: | 16 |
This gives you 0.5mm increments — precise enough for cut lines and margins without the grid being overwhelming.
What about slopes?#
Flat brick faces are easy. Diagonal faces — like the face of a 2×2 Slope 45 — are trickier, because the angled surface doesn't map directly to an LDU grid.
The good news: you can work it out with some basic Pythagoras, given a few knowns:
- The base width and length in studs
- The height of the brick
- How many stud rows are visible on top
- A small rise allowance at the top edge (Lego adds this so bricks don't come to a sharp point — I assume 4 LDU, or 1.6mm)
The maths isn't too painful for a one-off, but if you're doing multiple ships with multiple slope types, it gets old fast. I built a Google Sheet that handles all of this — make a copy and plug in your brick dimensions.
Matching brick colours#
When your sticker background needs to match the brick, eyeballing it won't cut it — especially if you're going to print in CMYK. This colour reference by Rylie Howerter covers pretty much every Lego colour with CMYK values. In my experience the values are accurate enough that you won't notice the difference once the sticker's on the brick.
Make sure your Illustrator document is set to CMYK colour mode before you start laying things out.
Designing the sticker#
With your grid set and your colours matched, here's the process I follow for each sticker:
Draw the background rectangle — drag it out on the grid to match your tile or brick size. A 2×2 tile should snap to a 16mm × 16mm square. Check the properties panel to confirm.
Design your artwork inside the background rectangle.
Add a cut line:
- Select the background rectangle and go to Object → Path → Offset Path, set to −0.5mm
- Give the new path a thin stroke and a transparent fill
- Round the corners: with the cut line selected, go to Effect → Stylize → Round Corners and enter 0.5mm
- That's your cut line, sitting 0.5mm inside the sticker edge. If it's too tight after printing, bump the offset to −1.0mm
Automating the cut line#
If you're making a lot of stickers — and once you start, you will — that cut line process gets repetitive fast. Record it as an Action in Illustrator (Window → Actions), give it a keyboard shortcut, and you can crank through a whole sheet in a fraction of the time.
Printing#
I print on white vinyl through a print shop that can handle CMYK colour and kiss-cut the sheet — meaning the cutter goes through the vinyl but not the backing paper. You end up with a sheet of stickers you can peel individually.
If you're just testing a design or only need a small number of stickers, printing at home on printable sticker paper works too. A Cricut machine can handle the cutting if you go that route, though I've stuck with professional printing for anything going on a finished model.
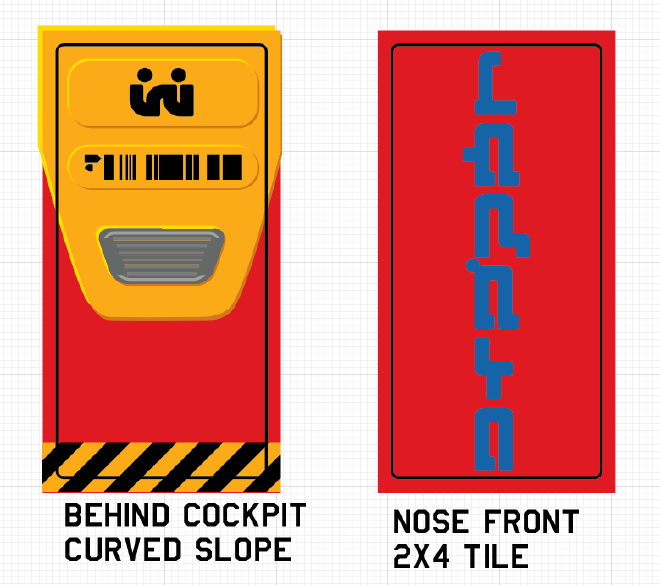
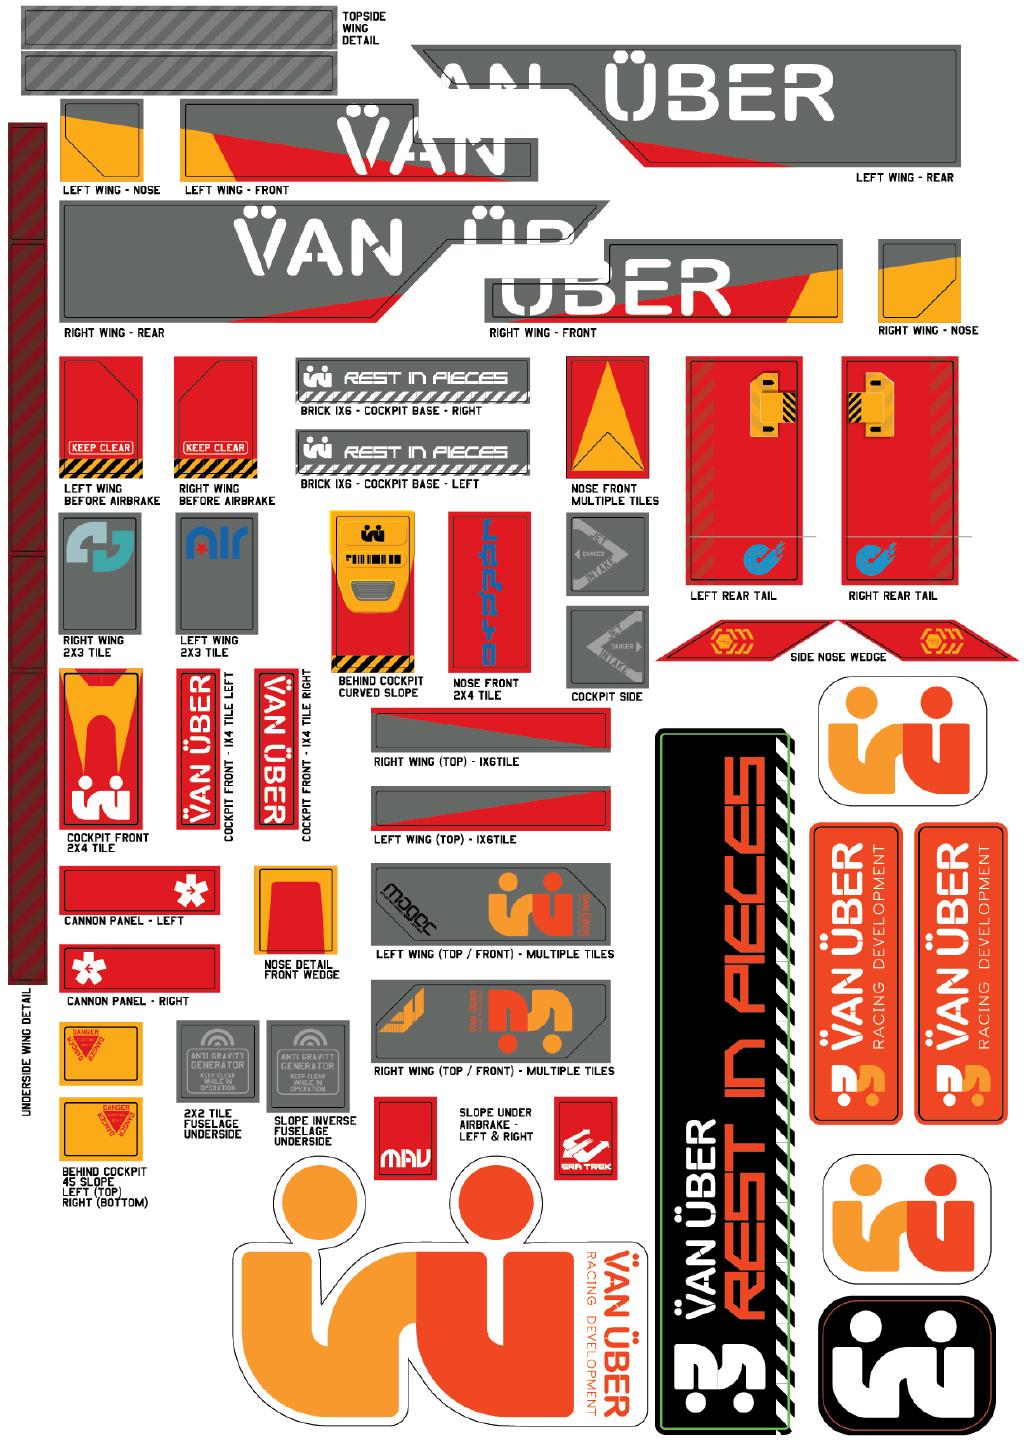
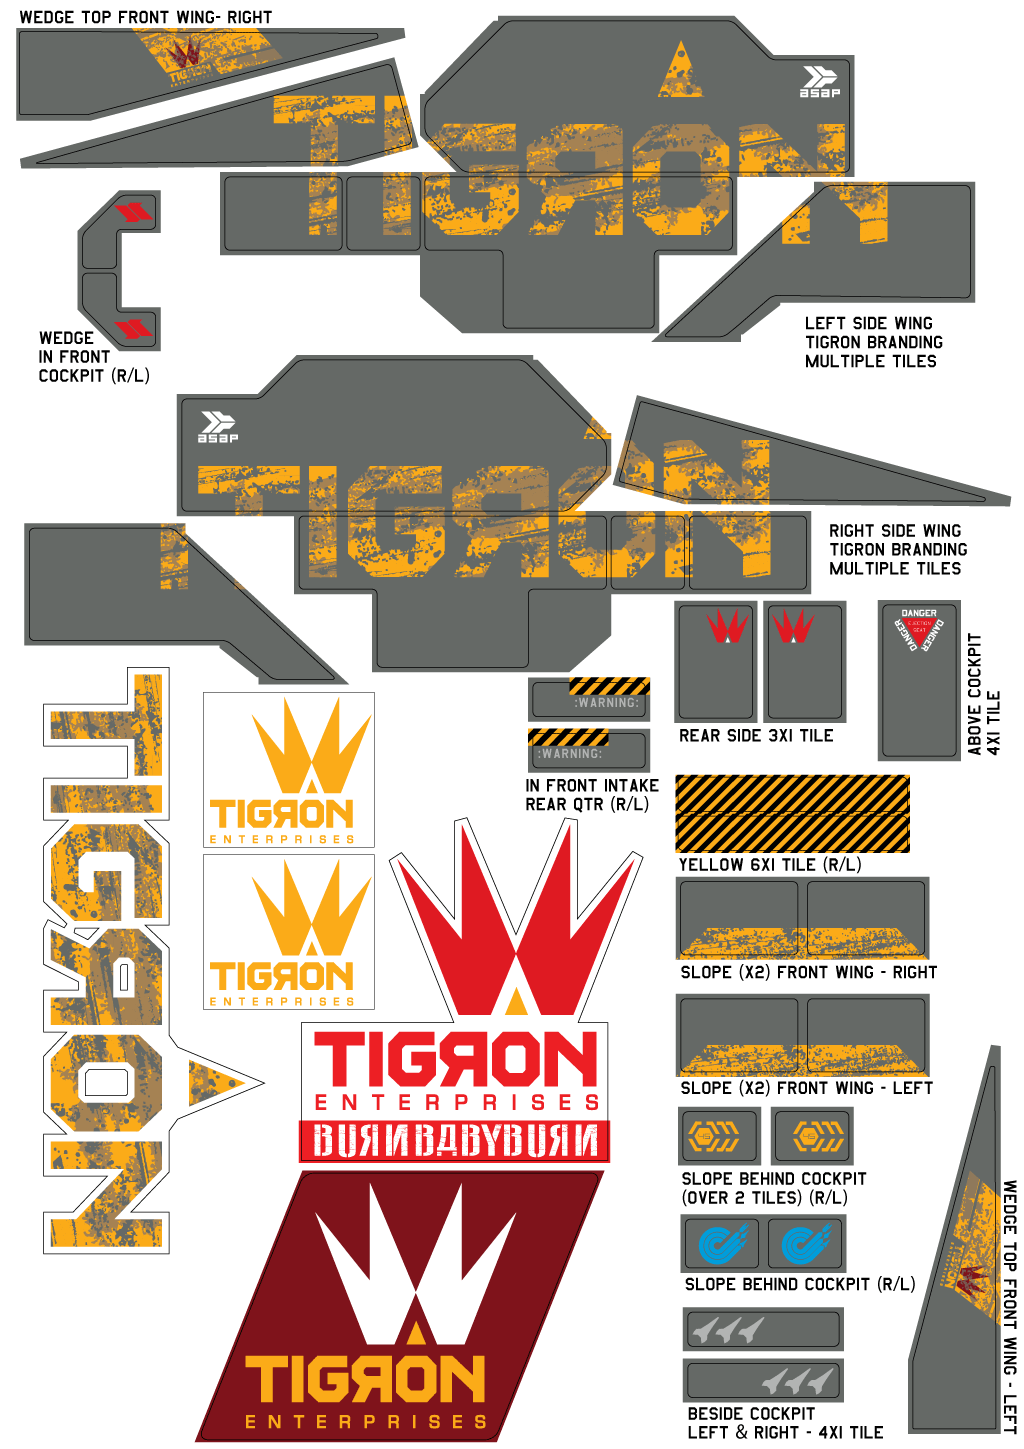
Examples from my Wipeout builds#
Every ship in my Wipeout Lego series uses custom stickers designed with this exact workflow. Here are the builds where stickers made the biggest difference:
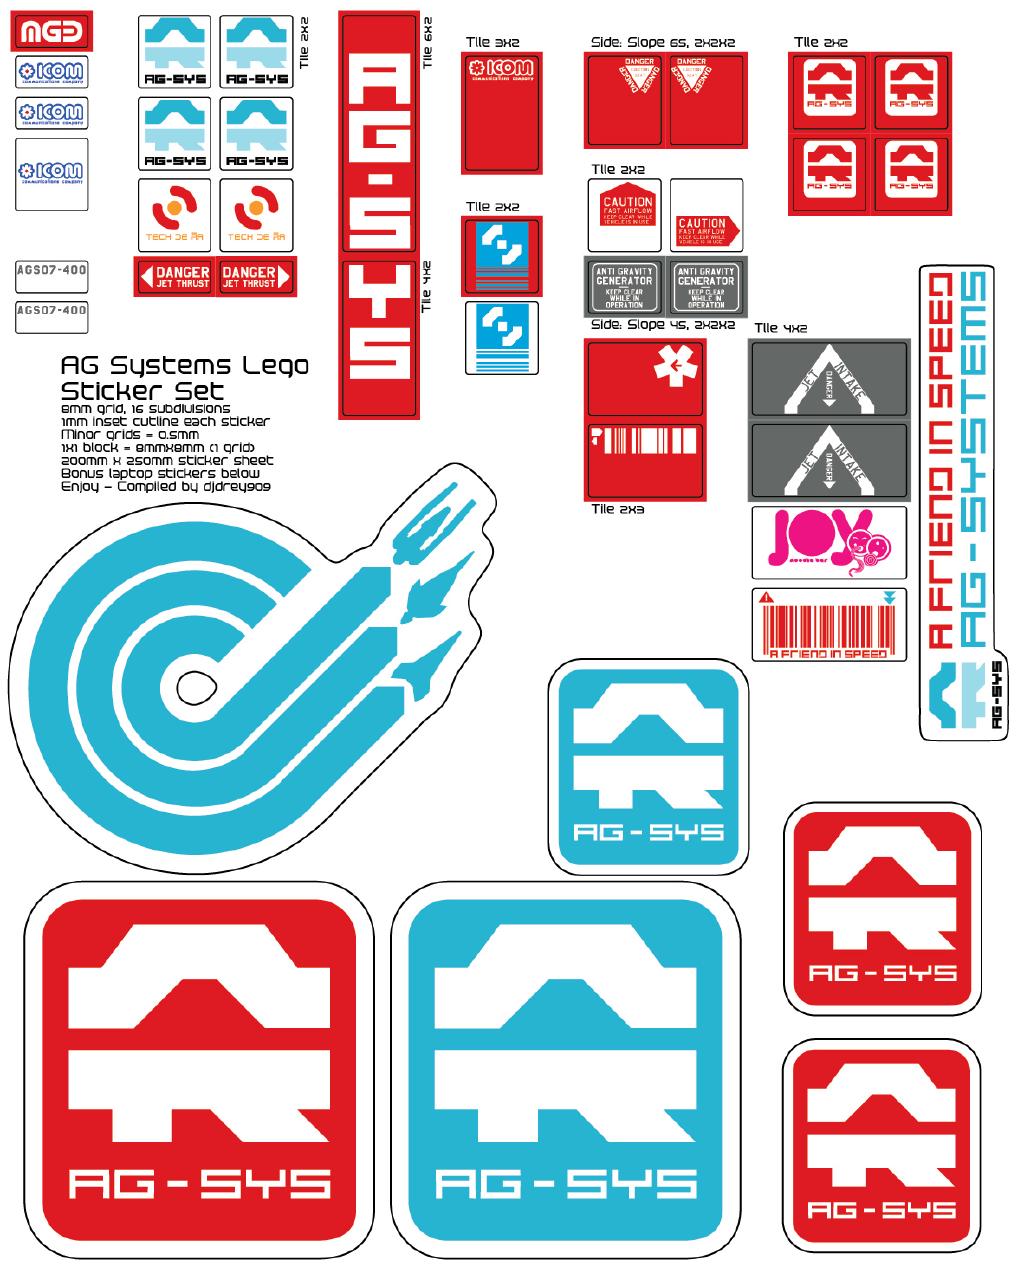
- AG-Systems — the first build, and the one that forced me to figure all of this out
- Van-Über — nearly 40 custom stickers across the twin-wing design
- Tigron — the most complex sticker work yet
Wrapping up#
While none of this is rocket science, for someone coming to making custom stickers for Lego models for the first time, it wasn't obvious to me. I hope these tips give anyone else trying to do the same a little leg-up.